
Did you like this stocking? Want to make one yourself? Well, I figured there are probably a lot of tutorials on how to make Christmas stockings, this one is the way I did it. I like that it allows room for embroidering the name, what’s a stocking without a name on it?
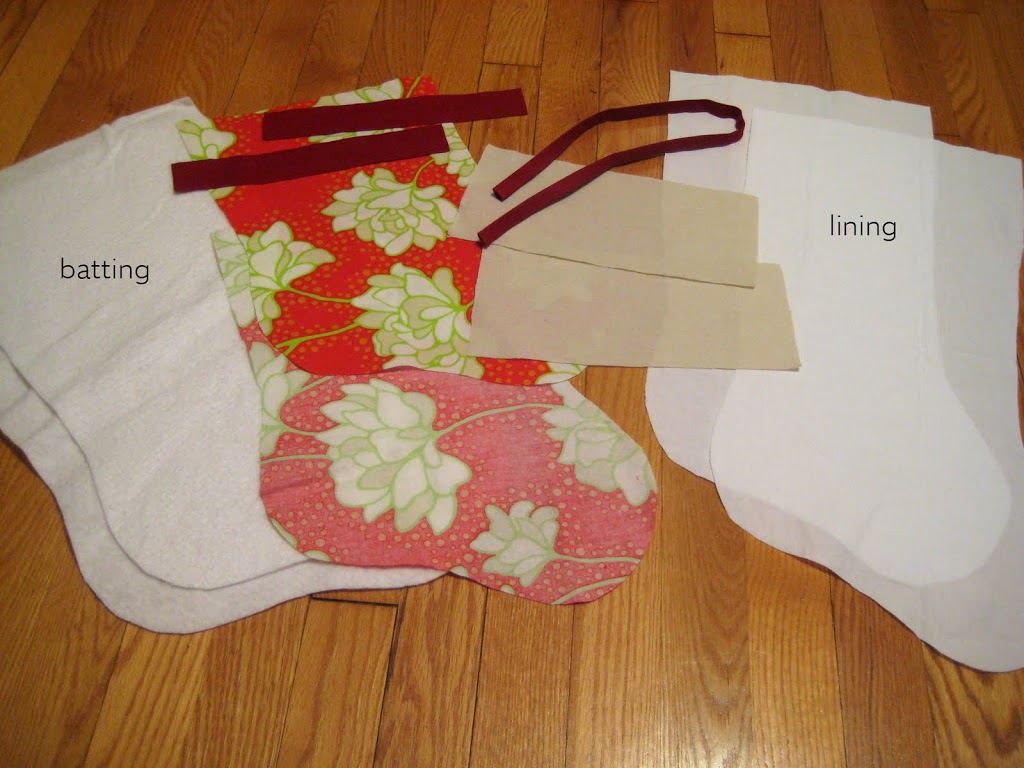
Here’s what you need:
- Stocking pattern pieces (I’m providing a PDF of the stocking pattern pieces I used, or you can trace one from a stocking you like)
- 1/2 yard main fabric
- 1/2 yard white muslin (used for lining)
- scraps of linen (or scraps from your white muslin) for name placket
- 18″ of bias tape (for binding at top of stocking)
- 2″x 16″ piece of colored fabric (mine was a deep red)
- Warm & white cotton batting (maybe 1/4 yard)
- thread
- embroidery floss
- water soluble marking pen
- scrap of ribbon, button (for making hook)
Ready?
Cut 2 pieces of the stocking pattern from the white muslin
Cut 2 pieces of the main fabric from the stocking template
Cut 2 pieces from the linen for your name placket (cuff piece)
{Sew with 1/4 seam allowances throughout.}

Place white muslin (for interior) right sides together and sew along edge, leaving ‘top’ of stocking open. Set aside.
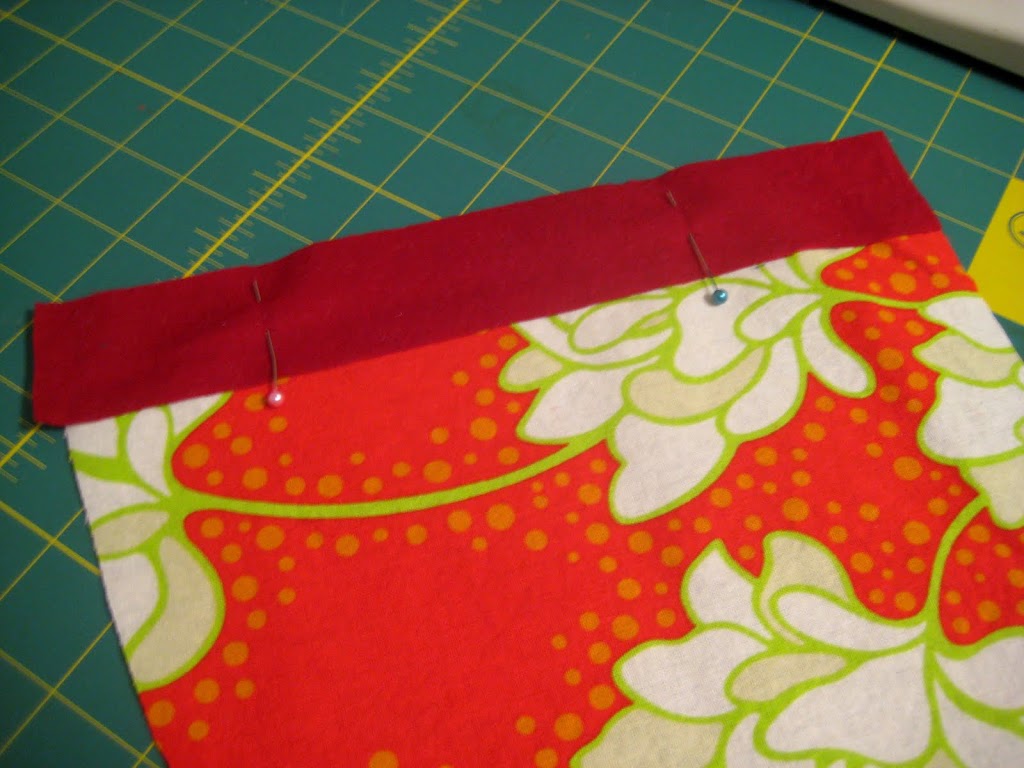
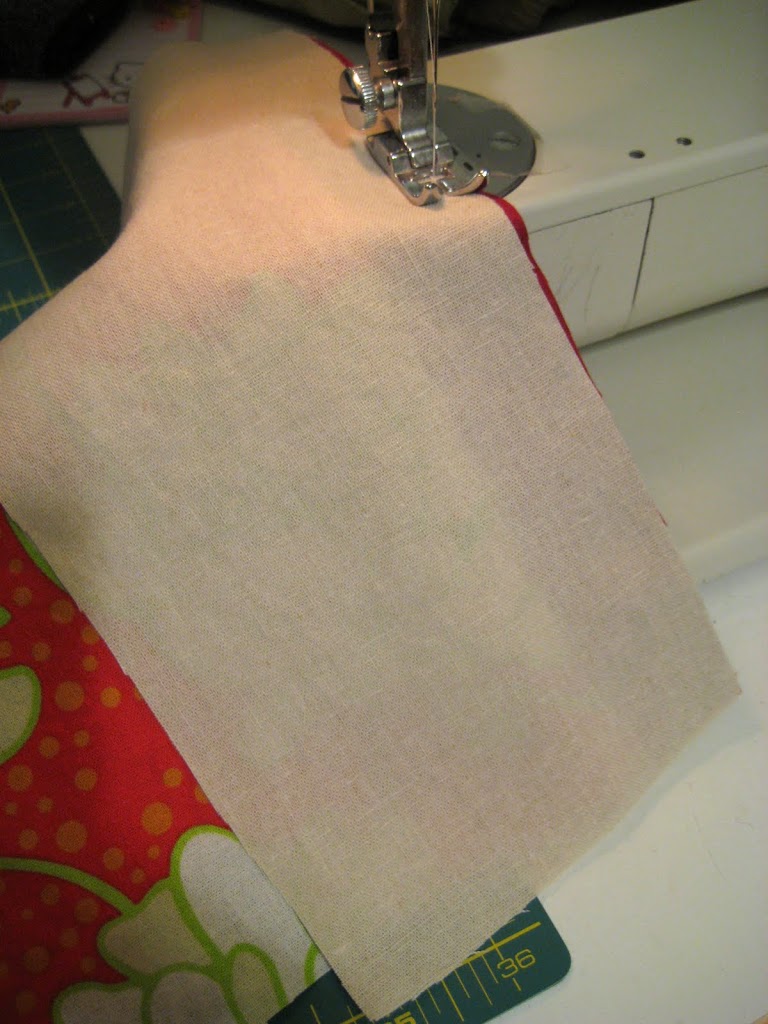
Take main fabric and sew your 2″ wide fabric together, then sew linen to that 2″ wide fabric. Repeat for back side of stocking. Press seam allowances down towards main colored fabric.
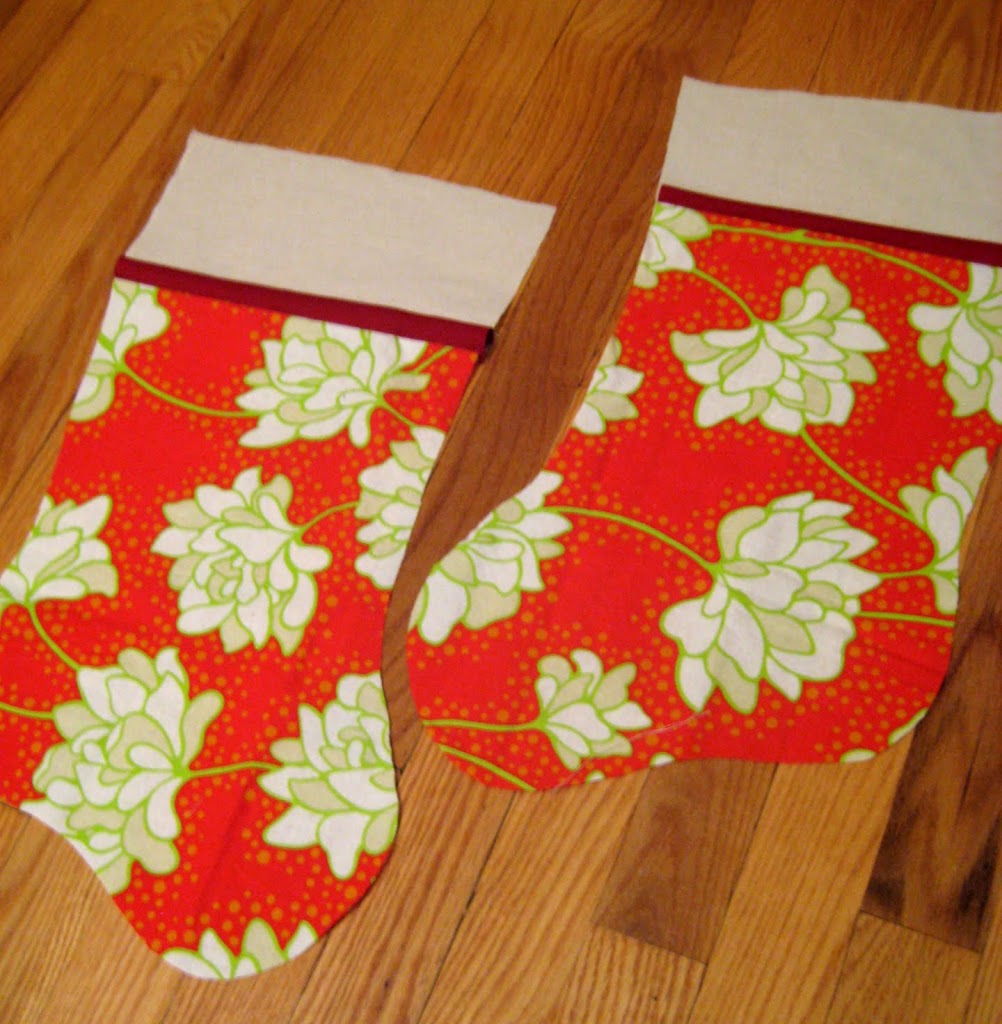
After sewing both front and back exterior pieces of the stocking it’s a good idea to embroider your ‘names’ on the stocking. Just use your water soluble pen and write the name however you’d like, then use a satin stitch to embroider the name. (this is definitely the most time consuming step). At this time I also did a little bit of hand quilting to keep the top pieces attached to the batting better.
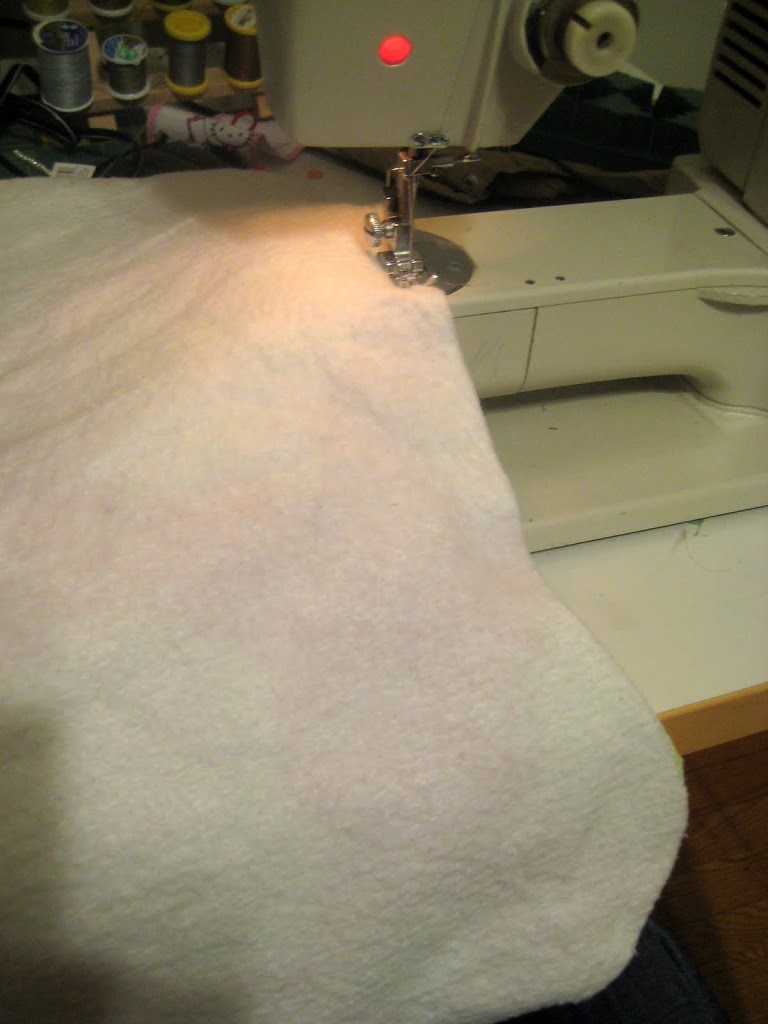
Next, place a piece of batting on your work surface, then put the pieced exterior right side up on top of that. Then place the other pieced exterior piece right side down and then place the remaining batting on top of that. Pin. Sew along edge, again leaving ‘top’ of stocking open.

Turn exterior pieced fabric with batting attached right side out. Slip the white muslin liner into the stocking, wrong sides facing together. Attach your binding to the top of the stocking, just like you would for making a quilt. I tried hand sewing the binding for the first time. I love it. I used this tutorial and just looked at the pics for how to tack the binding down. If you haven’t done it this way before give it a try!
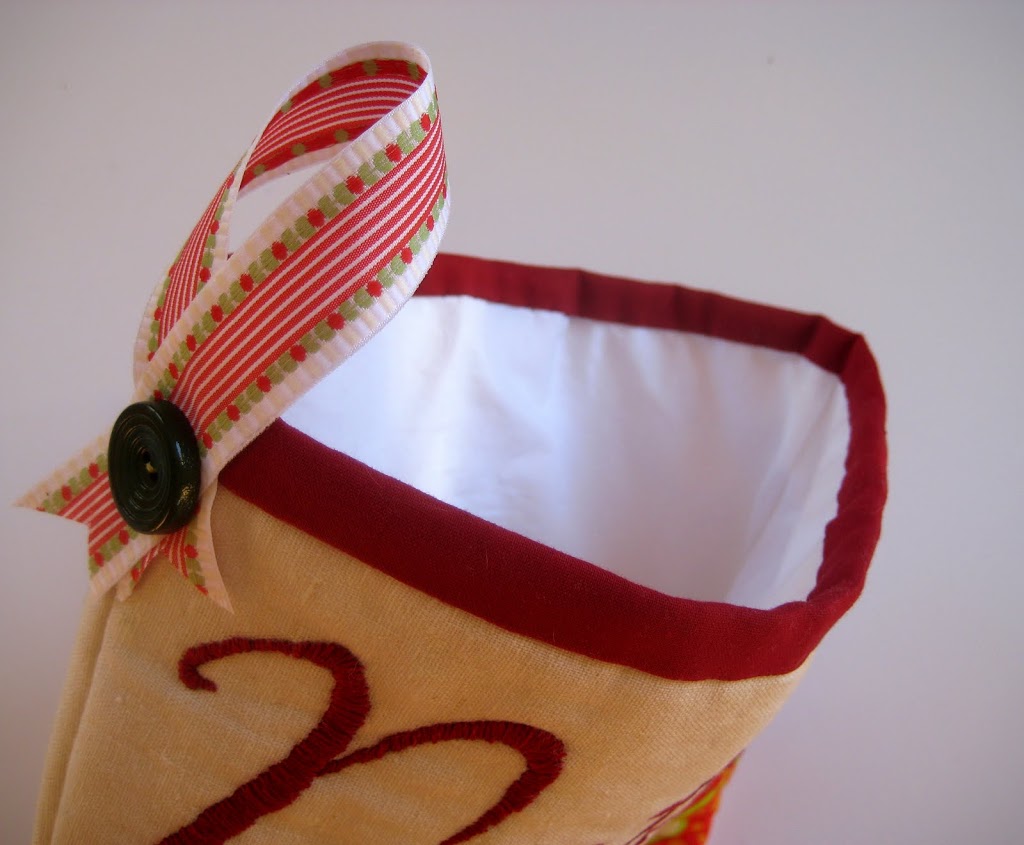
Lastly, take a 8″ scrap of ribbon make a loop and attach to stocking by sewing on a button through all layers.
Now go hang that stocking by the chimney with care!
So adorable! I can’t believe you hand embroidered that. . . makes me tired just looking at it. Well worth the effort though since it looks fabulous.
Thank you! Great tutorial!
gorgeous! the embroidery is fabulous…nice work! thanks for the tutorial!
I am making stockings this year too.
I just have a question where did you get the lettering for the names to embroider on.
I have six to make so any help with the embroidery
would help. thanks so much.
Jackie ( jlpudsey@cogeco.ca )
I just found this blog! This stocking is WAY cuter and the tutorial is WAY more helpful than the one I found in December. I’m filing this away for next Christmas season! 🙂
Love these!!! Once question “tile pages” is not an option when I click on the drop down for page scaling….any tips? I desperately want to make these. I make all your tutorials :):):)
Hey Krista~
I’ll try and work on a pdf tomorrow that has the pattern broke into separate pieces…
Super cute! I’m going to try one soon! 🙂
That would just make my day!!!! Thank you for being so accommodating!!!
Hey everyone, I updated the pattern pieces last night. They’ll print on 3 sheets of letter size paper. Let me know if you have any questions. 🙂
You rock!!! Do choose “print to margins” or scaling to “none”? Thanks so much, can’t wait to make one tonight!!!!
Krista~
It shouldn’t really matter which option you choose for this pattern, but I would select none and hope that it doesn’t get cut off in your printer’s margins. But really, either way will work, it will just be slightly smaller using the print to margins option.
I made this today out of my husband’s beloved old leather jacket that no longer fits…what a great tute!
Thanks for tutorial! I started them last year and finally finished them this year! http://littlesproutgrowing.blogspot.com/2010/12/christmas-stockings-finished.html
Thanks again!
just wanted to let you know I’m featuring this tutorial in a Christmas in July Stocking post tomorrow! http://nap-timecreations.blogspot.com/
Great tutorial! I featured it in a recent blog post…http://radcrafter.com/2011/11/10-diy-christmas-stocking-tutorials/
Alida
I can’t find the pdf file can you help me bigredtruck161@yahoo.com
Anna–i just wanted to let you know that I used your stocking tutorial and linked to you on my blog. Thanks! They turned out great.
http://thingsthatfloatmyboat.blogspot.com/2011/12/merry-christmas.html
Hi! I just wanted to let you know I used your tutorial to make stockings for my 2 little ones and I love them!
I LOVE this tutorial. I made these for my family this year and love how they turned out. I linked to this tutorial from my blog 🙂
http://nicorett.blogspot.com.au/2012/12/diy-christmas-stockings.html
Thanks for sharing!!
I’m new to sewing, but just love these. I’ve had them on my pinterest for over a year, and just got everything I need to make them. I was wondering when I cut the fabric, batting, and lining if I need to add 1/4 ” to the edges or if it’s included. I saw that the pattern says to add two inches for lining and batting to the top of the whole thing, is it just for those?
Thanks.
I made these 2 years ago for my family and loved how they turned out. I just had a baby this year and I went to open the PDF so I can make another one for the new baby and the link isn’t working anymore! Are you able to fix the link or e-mail the PDF to me?
Never mind, apparently my computer was being wacky. I got it now 🙂
The pattern doesn’t print for me. I am sure that it is a user error. Can you please help
Thanks for this! I will try to do such socks with my daughter, we love to sew!