

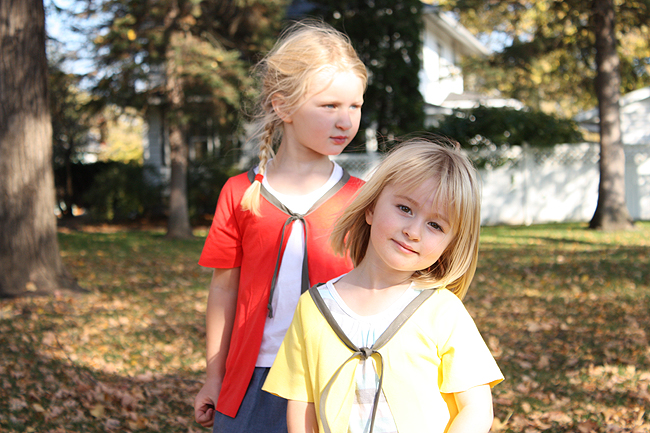
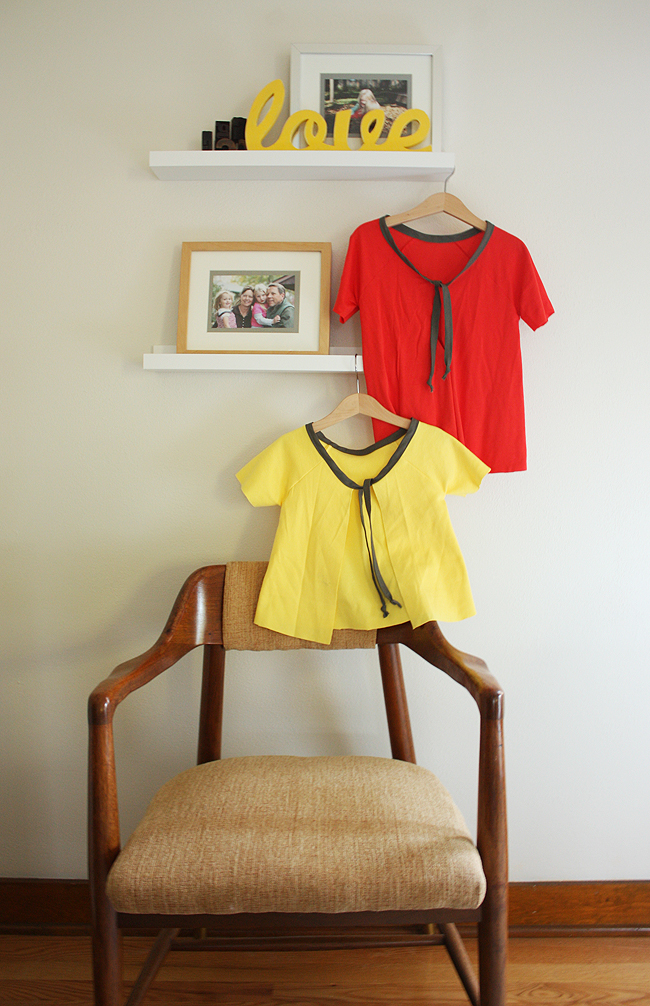
Very honored that my friend Rachel of Stitched in Color asked me to hang out today and post up a little tutorial for Celebrate Color! If you haven’t been following along, catch up on all her posts here. Today I thought I’d share a quick little cardi you can make for that sweet little girl in your life (or heck, you could even make one for yourself!). When I think of fall I think of bright saturated colors, so that’s what these little cuddly layers represent.


It’s fun, quick, and super easy, I promise. All you need is some knit fabric, a ballpoint sewing machine needle, and some double fold bias tape.
Materials:
- 1/2 or more of knit fabric, depending on what size you’re making, interlock would be great
- 1/2″ double fold bias tape (one yard)
- thread
- ballpoint needle
- cardigan pattern

[1/4″ seam allowance used throughout]
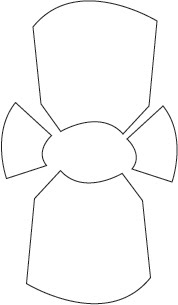
I decided it might be easier to include a couple pattern pieces for the cardigan (download from link above), I made a size 2/3T and a 5T. You can choose to use the pattern pieces or you could make your own, or if you have a simple raglan tee pattern you can modify that. It’s quite forgiving, and quick, so if you don’t get it right the first time, give it another try!
Directions:
Assemble pattern pieces, cut desired size and tape together at matching letters on pattern pieces. Cut two body pieces on the fold and two sleeve pieces on the fold.
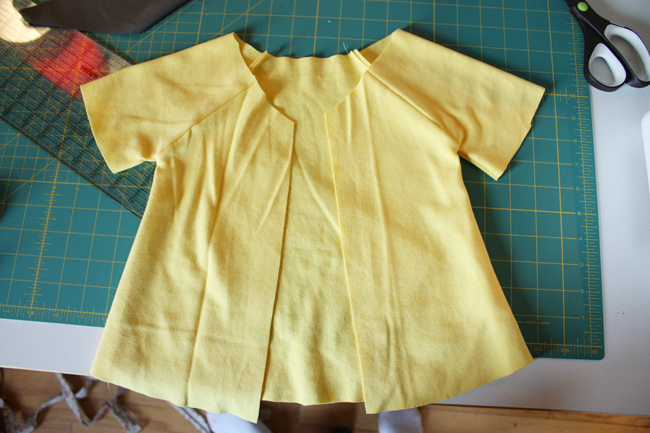
Stitch sleeves to body pieces right sides together. I just used a regular stitch and foot on my machine. Here’s a diagram of how the sleeves get sewn to the body:
Cut an opening straight up one body piece (this creates the cardigan opening and will be the front). Next you can align the top front edges and trim away a little scoop for the front like so:

Next, place the cardigan flat right sides of facing. Pin. Sew, going under the arm continuing down the body of each side.
Lastly attach the double fold bias tape to the neck edge, leaving a tail of tape on either side. You can either sandwich it on, or open it up, stitch on the fold then fold it over the knit to the other side and sew, being sure to sew all the way to the ends of the tape.

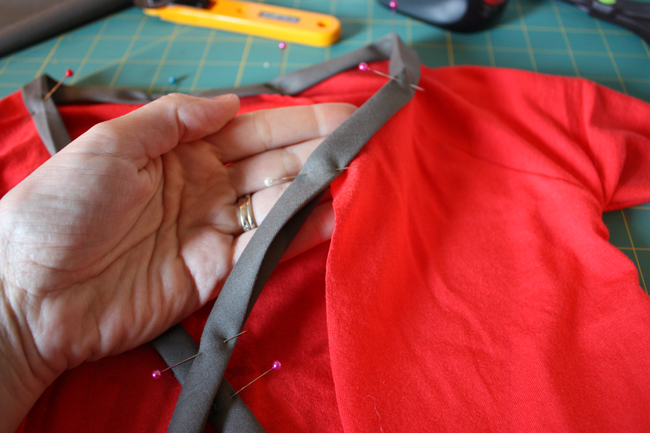
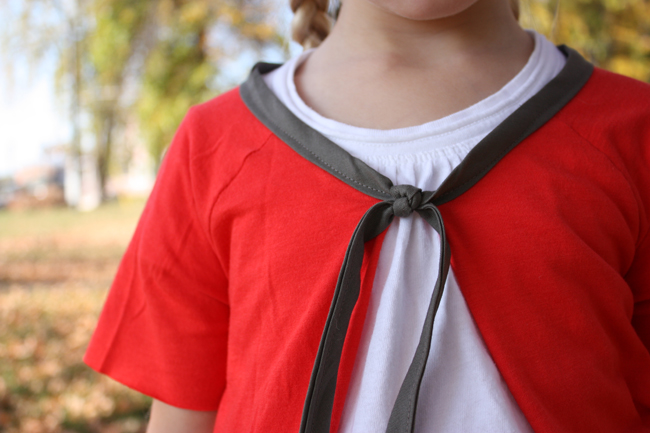
Tie a knot in each end of the tape, plop it on a cute kid, and you’re ready for fall!

And if you’re new to sewing with knit fabric, Luvinthemommyhood and I had a fun little series with tons of great tutorials and tips, find them here and here.
I love them and so does Haila! Very cute, Anna!!!
This is such a super cute and easy top! And adorable on your girls!
What a darling cardigan and pictures of your girls! I’m totally making one soon. Thank you!!
That is way cute! I’ll have to make a couple for my girls for Christmas now!
These are adorable Anna!!
I’m excited by how completely easy and super-clear this little pattern is. As someone who’s often intimidated by apparel, I can see exactly what to do. What a great place to start with knits! And – as always – your girls are awesome little models!
sweet and simple. I love it!
Those girls!!!
very cute!
what a sweet, simple project. I love it.
you are a genius and your girlies are so stinkin’ cute!
cute idea Anna!
Very cute, and love your models
Too cute. I think it would even work on one of my old t-shirts, as an update.
What great photos of your girls! Thanks for the tutorial. I’ll have to make one for my niece.
nice pictures. I’m going to make one for my girl, thanks for sharing.
So gorgeous and simple! Pinned it to pinterest and making it this weekend!
Great little pattern/tutorial. Super cute models too. Thank you for the tute and pattern pieces too.
What a great little project/tutorial! And there are so many ideas for customizing this running through my head!
what a great idea (btw, your daughters are adorable)
These are so simple, Anna, but they look fantastic. I love the bright colors.
Just a quick note to let you know that a link to this post will be placed on CraftCrave today [11 Oct 09:00pm GMT]. Thanks, Maria
How cute! I even might try to make one for myself…
the pictures and your daughters are adorable
Such a cute little cardi (and OMG, such cute little girls!)!
your sewn items are very cute, but those girls are the cutest craft project you’ve ever made 🙂
Super cute and I still need to make some gathered clutches. Maybe for Christmas.
Oh how CUTE!!
Nice! It possibly looks easy enough for even me. 🙂
I love this idea! Can’t wait to link up to the site and your designer profile. Thanks for sharing!
Kirsten
Editor
AllFreeSewing.com
Do you have any ideas on how to convert this to an adult size pattern?
Hi Theresa,
You could find an adult size raglan tee and trace the front/back/sleeve pieces….
These are adorable! But I am wondering, are the sleeves and bottom edge left raw? Or are they hemmed or something? Thank you!
yep, it’s left raw, since it’s made of knit (which doesn’t fray). You could easily add a little length to each if you preferred to hem. 🙂
i just made some bias tape with my new simplicity bias tape maker (http://www.amazon.com/Simplicity-881925-Bias-Tape-Machine/dp/B002CT3YX2/ref=sr_1_2?ie=UTF8&qid=1343767283&sr=8-2&keywords=bias+tape+maker). i can’t wait to use it to trim some adorable cardigans! thanks for sharing. 🙂
You could also do that with an existing T-shirt, cut away the neck binding, open up the front and add new binding including down the front. I have a T that is just a wee bit too snug on my boobs; hate to throw it away but this would solve my problem, wear over a tank/sundress in the summer etc. Many thanks for the idea