

I recently made a trip up to visit the Minneapolis Modern Quilt Guild to teach a Divided Basket Workshop. It was such a blast! I was really happy to be able to hang out with a couple good friends before the class, so that made it extra special. I loved teaching this class, and the guild members were all super awesome. They picked such great fabric combinations and were so productive! They totally inspired me.
I came away with a couple of baskets to finish up after using the parts for step-outs. I liked having two baskets almost finished when I came home and then just took a small bit of time to get them done!
It’s funny but I only had one, yep just one!, divided basket in my house to bring as an example. I think I’ve sewn at least a dozen? Most were given as gifts and a few have been made for quilt market samples. And I’m totally not sure of where these two baskets might end up. I’ve been toying with the idea of selling some samples (just a few things here and there) I make simply because my closets are getting full! I do try to give away most of what I make to friends and family, but sometimes I just don’t have an occassion or person in mind. I do have to keep a few for samples, but other than that I’d like to spread the love.

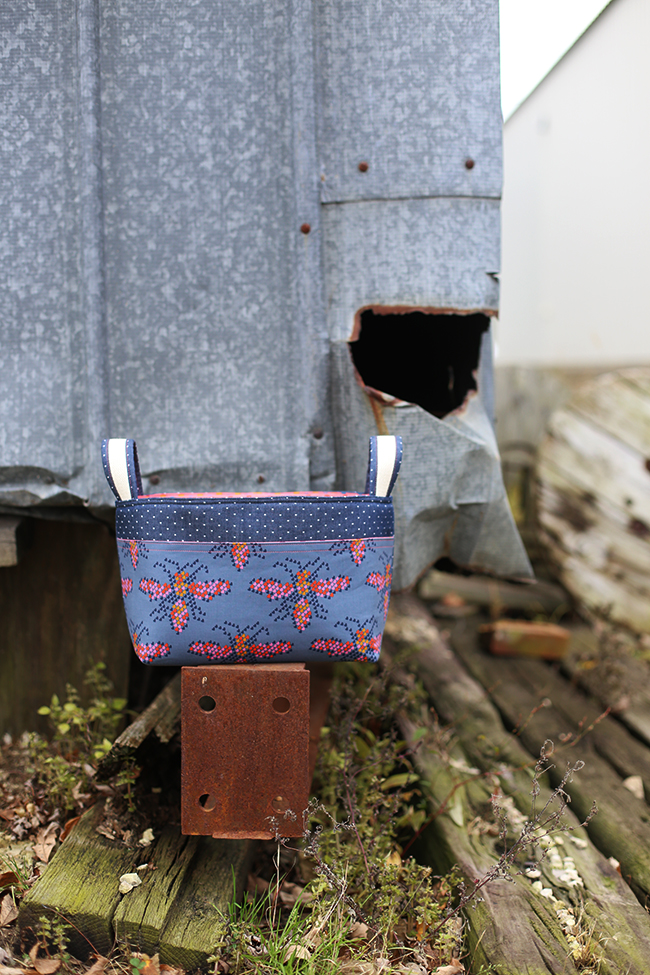
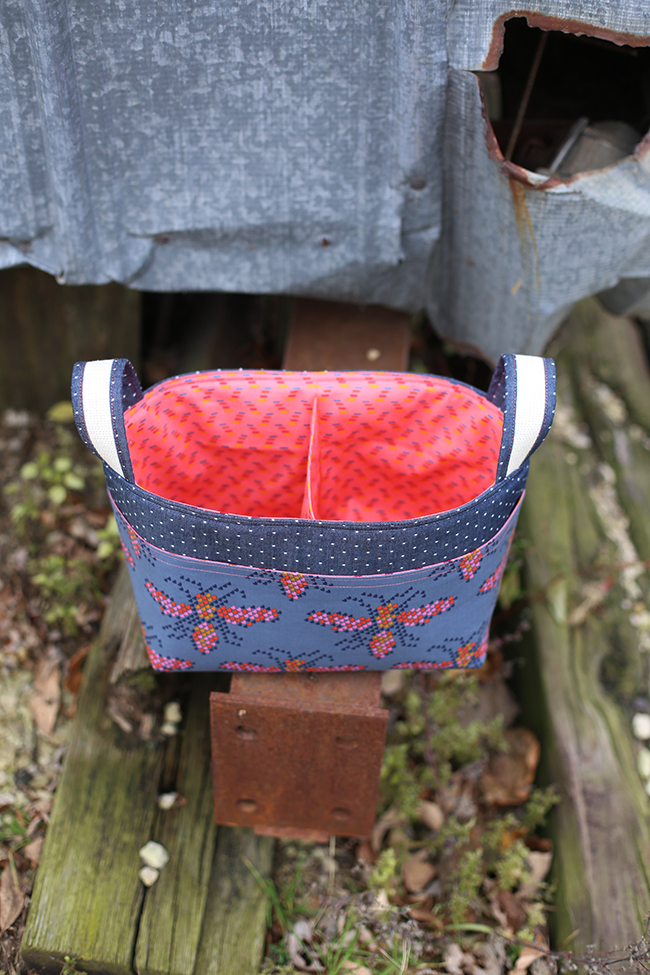
Just one more note about these baskets. A few people have asked about different interfacings for this pattern and I wanted to try things out before I could recommend certain interfacings. Soft & Stable is what I used on these particular baskets for just the exterior pieces (not including the pocket). I think it’s a super alternative for those who are using quilting cottons for those main exterior pieces. The Soft & Stable really will hold up to a lot of wear and tear. If the basket you’re making is going to be for a child or used for heavy items, I’d say Soft & Stable is a great choice! I did also use SF101 on those pieces as well, fused that on, then basted on the Soft & Stable. And definitely feel free to ask me questions, I’m hoping to add Soft & Stable to the list of interfacing choices for this pattern.

After assembling the exterior, run a line of basting stitches 1/2” from the top raw edge all the way around. This will serve as a guide for pressing that edge under. It’s a little more tricky with the thickness of the Soft & Stable, but for me the basting stitches really helped. I also ended up basting the top edges together before doing the topstitching. Keeps everything neatly in place!
Pattern: Divided Basket
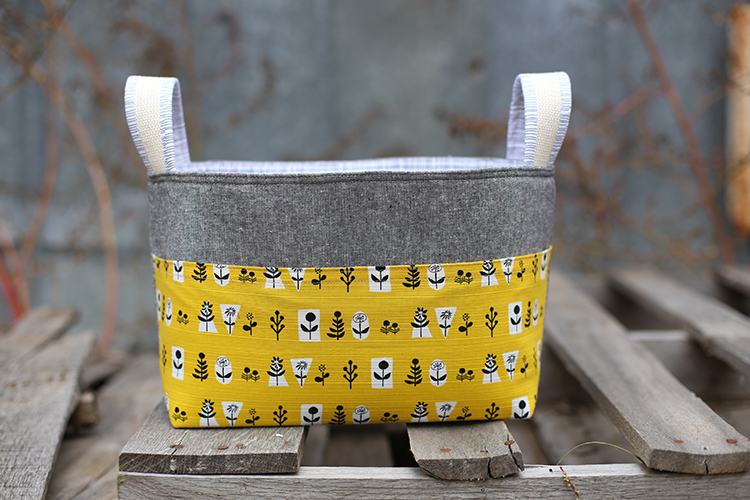
Fabric: Melody Miller for Cotton + Steel, Robert Kaufman Yarn Dyed Essex Linen and Chambray Dots, yellow print was purchased in a destash sale, I believe it’s Shinzi Katoh?
I am addicted to these baskets!! I would have loved to have joined in and met you in person! someday…. 🙂
mmmmm i haven’t sewn a divided basket in a while…who needs a gift? haha. these are great!
I have your pattern-fell in love with it the very first time I saw it on your blog.The pink,bee basket is insanely gorgeous!!!
Lovely baskets and an interesting blog post.
I have made four of them for newborns, and one for my mom, to keep the yarn in one place. And now just deciding on fabric for my own soon-to-be-newborn. Nice pattern.
I always want to make what you make. So lovely!
Thanks for the extra interfacing info–unless a designer gives me something specific, I get really confused on “midweight fusible,” etc. I will try the Soft and Stable. I have been wanting to make one (or two or three) of these forEVER. Being in your class would have been the BEST!
Thanks for the soft and stable tip. I’ve made a couple of these and although cute they really didn’t stand up well to use with the interfacings I was using.
Lovely baskets there