

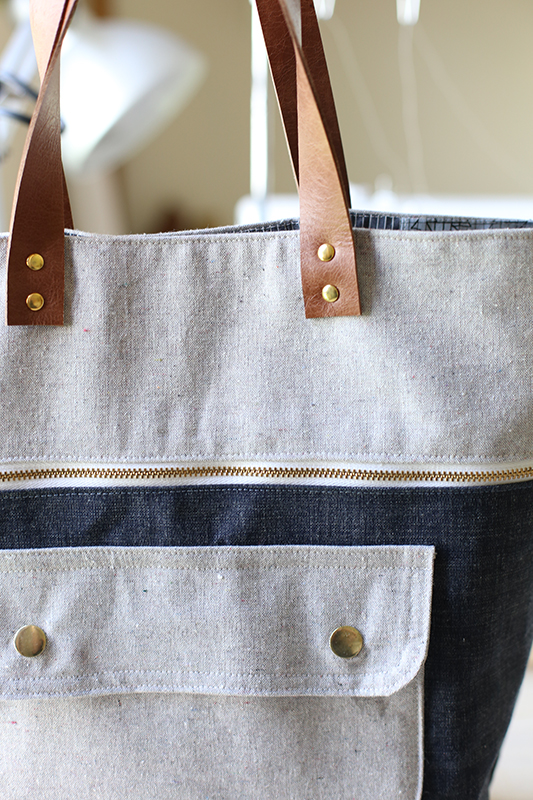
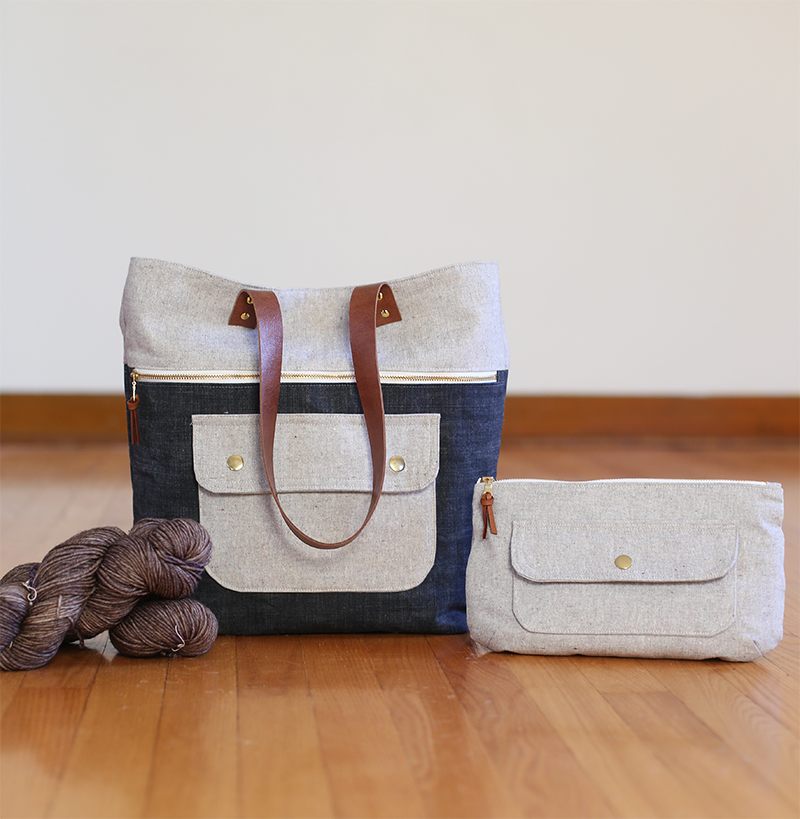
Hi there! Remember the Caravan Tote + Pouch pattern? Well, today I’m sharing my tips and instructions on how to install handles using rivets. As part of Sew Mama Sew‘s Super Online Sewing Match II, the Caravan Tote is the project for the third round of the competition. I’m so excited to see how the talented contestants interpret this pattern. It’s always fun to see everyone’s creative twist on a project, that’s what I love most about sewing!
Using rivets in bag making can take your projects to a whole new level, and they look awesome with the Caravan Tote.
p.s. you can totally do this!
Hardware is one of my most favorite parts of bag making. It adds a beautiful detail with professional looking results. I think hardware can be very intimidating to learn at first, but with a little bit of information and how-to, anyone can do it. Many times installing hardware is one of the last steps when making a bag, especially when it comes to attaching handles with rivets. You’ve working really hard to make an awesome bag, and then it’s rivet and handle time! I’ve been there and I know it feels scary. Hopefully with this tutorial and my tips, you’ll be setting rivets in no time flat – and with confidence!
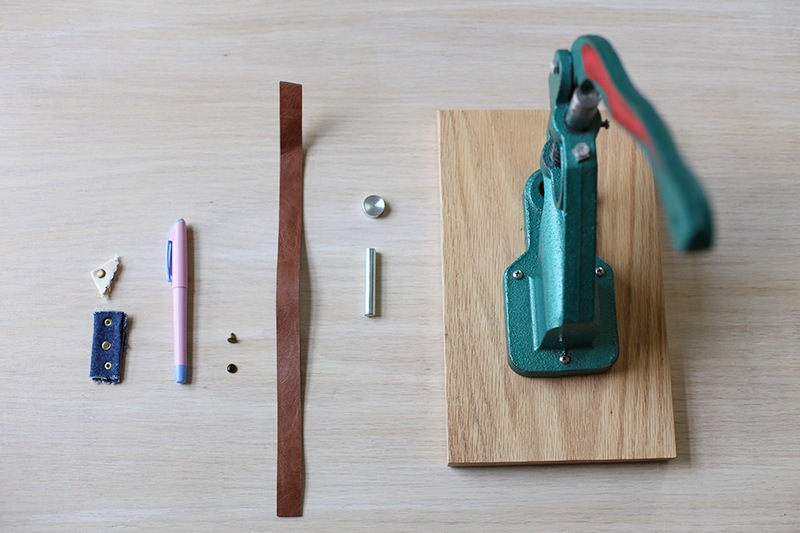
[test rivets and materials, water-soluble pen, double cap rivet, finished strap, rivet setting tool or rivet press]
Materials:
- rivets (I typically use double cap rivets with an 8-9mm cap size and 6-8mm post length)
- awl/leather punch/rivet press
- rivet setting tool or rivet press that fits the size rivets you are installing
- soft hammer/mallot
- finished handles (fabric or leather)
- a bag to attach them to!
[Rivet setting tool, anvil and strike post]
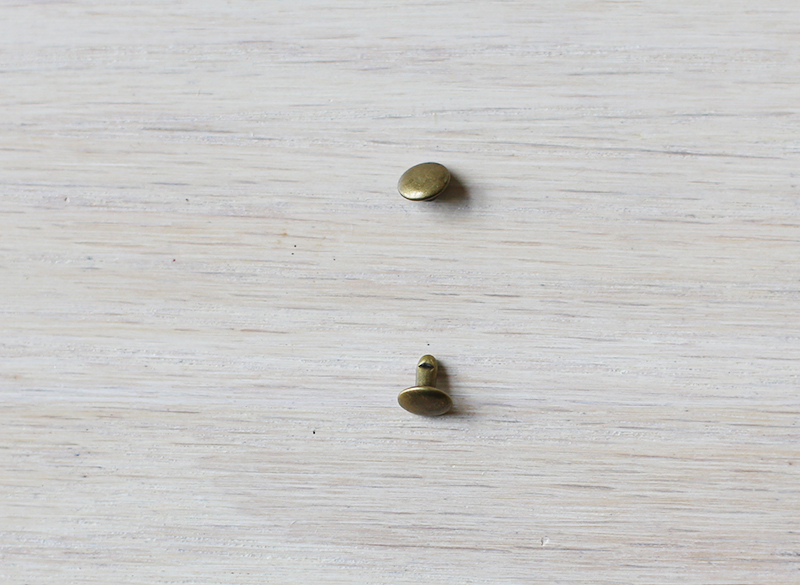
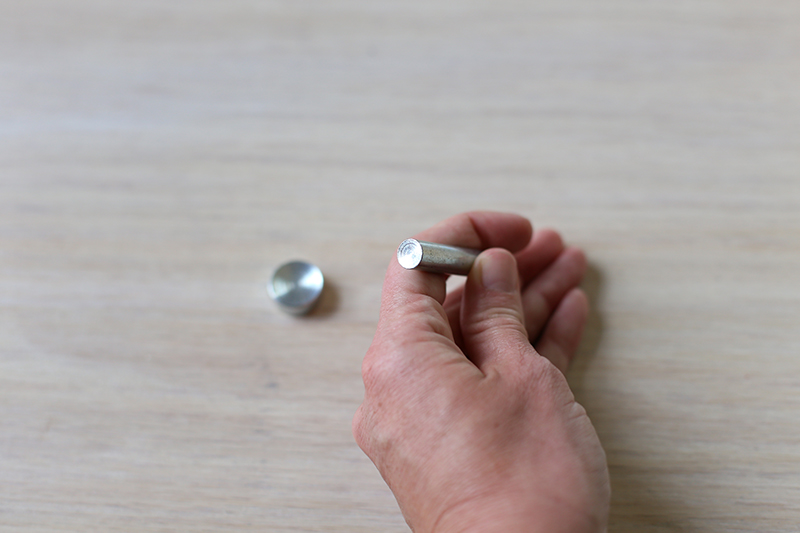
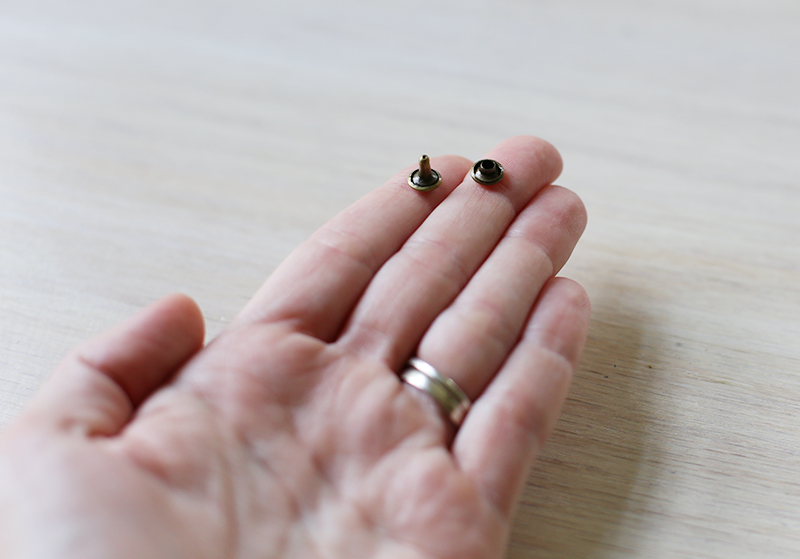
[rivet cap on top, rivet with post]
Tips to get started:
- Rivet size. There are many types and sizes of rivets! Probably more than you’ve ever thought possible. Buying the right size and type for your project is cruicial in having success with your finished product. For most bags I recommend an 8mm or 9mm double cap rivet with a post length of 6-8 mm. Don’t forget about finding the correct post length! It helps determine how many layers your rivet will actually hold together. Having too long of a post length, your rivet won’t sit snugly on your handles, but having a post length that is too short will leave you with a rivet that won’t be long enough! Take time when you’re shopping. If the item description doesn’t list the information you need, contact the shop owner.
- Practice. No one ever has set out to do something they’ve never done before and been amazing at it the first time they try! Don’t expect yourself to know everything the first time. Everything is a learning process and a few practice tries will get you warmed up and ready for setting your first rivets on a real project. I usually set aside a couple small snippets of the same amount of layers/fabrics that I use for my finished project. It’s great to practice a few times with scraps to get a good feel for how everything goes together and to get acquainted with the tools.
Install rivet:
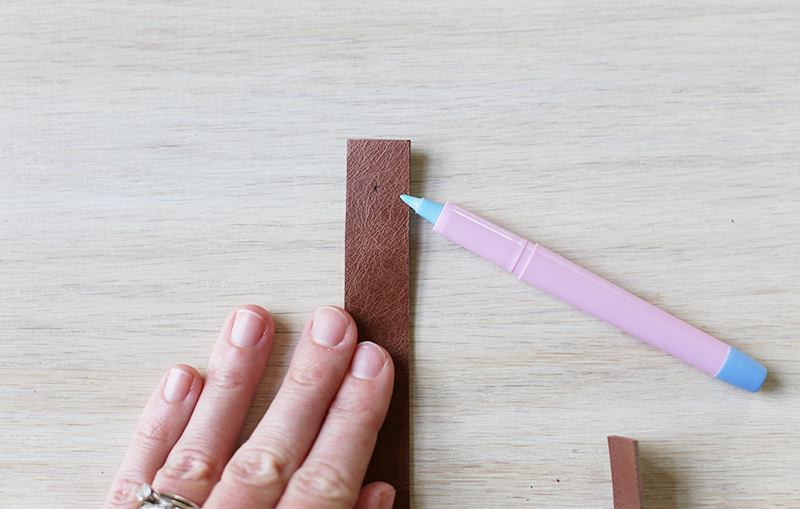
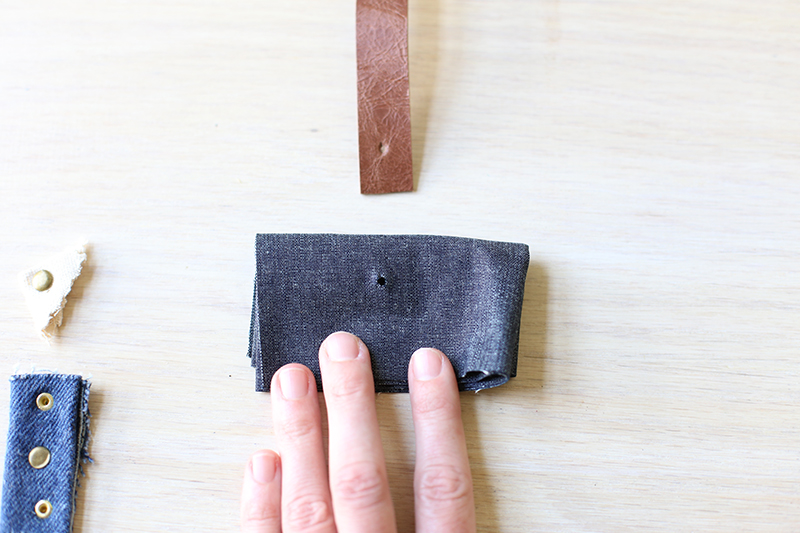
- Mark rivet placement. I like to use a water-soluble pen for marking placement. I find it works for the particular leather handles that I use, but do a test marking with your materials that you’re using. I usually use the cap part of the rivet to get a good look at how things will work. I recommend setting two rivets per handle end. The bag pattern you’re using should suggest the distance between the straps, or align them to how you see fit.
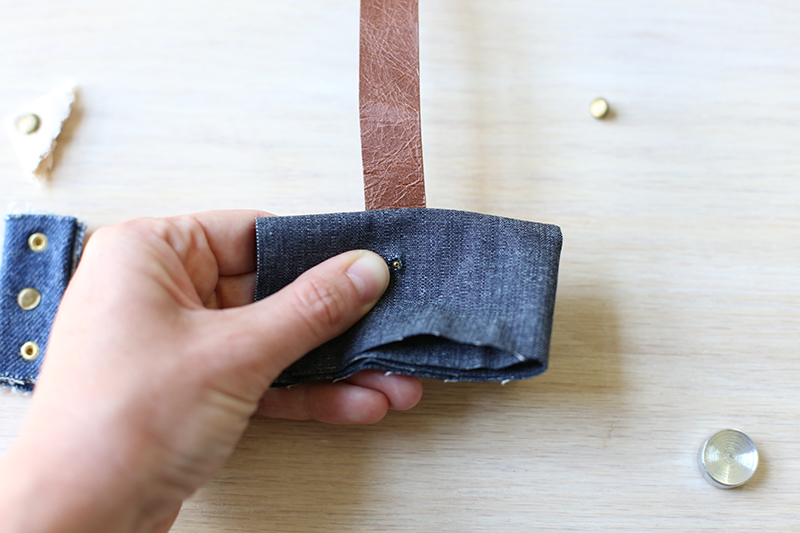
- Punch holes. Use and awl, leather punch, or rivet press, punch the hole in both the leather and bag using the markings you previously marked.
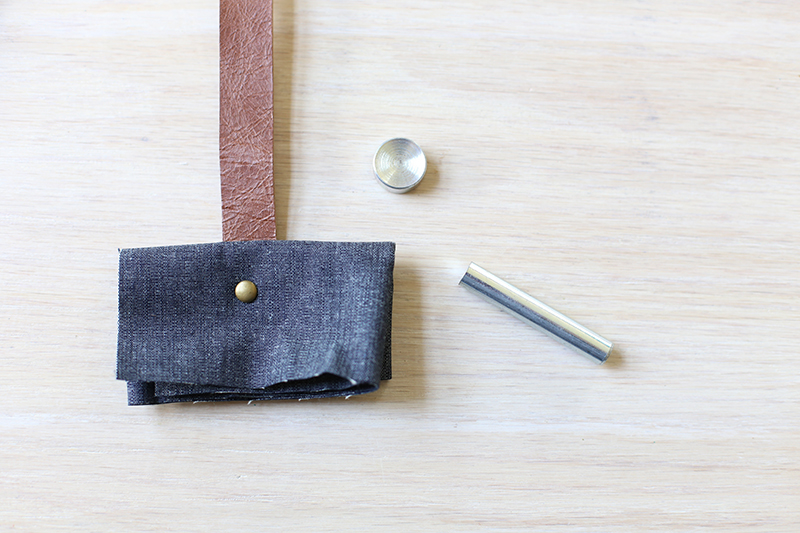
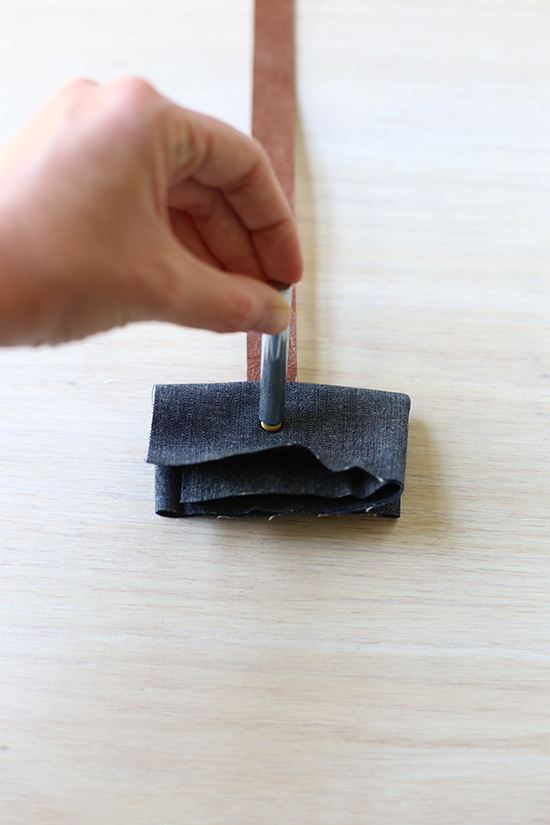
- Align holes and push the rivet post through layers from exterior of bag to the interior. You can probably do it the opposite way as well, working from the inside of the bag, so do what works best for you after doing a few practice runs. Snap rivet cap in place on rivet post. Some rivet brands click into place, others may not.
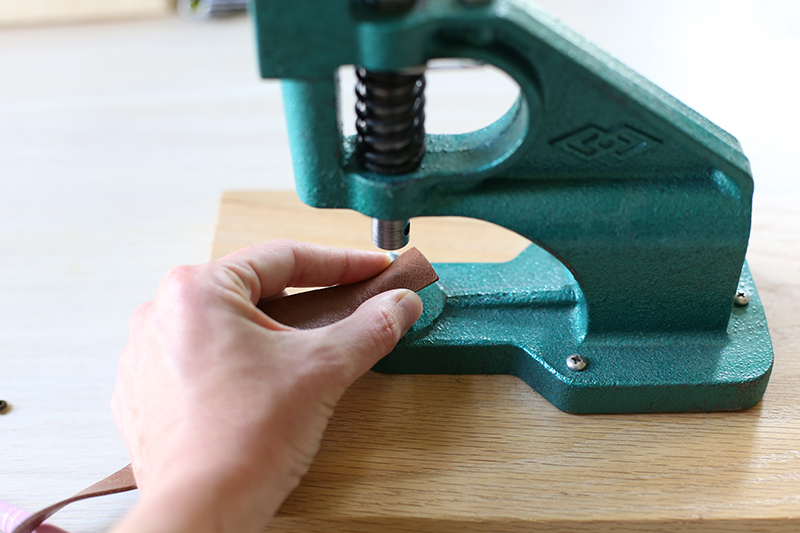
- Set rivet. Using the setting tools, or rivet press attach the rivet. Most likely if you’re new to using rivets a setting tool is the most affordable option. It comes with a strike post and anvil. The anvil is set on a solid surface, next aligning the attached rivet over anvil, then the strike post is the tool is set over the cap. With a soft hammer or mallot, strike the post with a few solid taps. A rivet press is a really amazing tool. Most also are able to be used for setting grommets or even snaps. They are fairly costly, so I do suggest trying the hand setting tools first.
That’s all! Pretty painless, right?! I think the more you practice, the more confident you’ll feel. I can’t wait to see all the awesome ways you’ll be incorporating rivets into your handmade projects!
In the past few years, I have spent hours and hours researching and sourcing hardware and straps. My patterns and book both include these resource links, plus more. It’s a search that I’ve been passionate about and have tried to learn as much as I can – and am still learning. I have personally used these shops and can verify that they sell high quality products.
Rivet supply sources (I typically use an 8mm head with a 6mm post or 8mm post length:
Minkus Margo on etsy
Buckleguy.com
Gold Star Tool
Emmaline Bags
Leather Punch – Tandy Leather
Handles:
Leather Handles (in my shop!)
oooh! i have been waiting for this. thank you.
Hi Anna….where did you get your rivet press? I’m shopping around a bit for one and I’m trying to get other sewist’s opinions first! Great tutorial 🙂
hi Regina, I’ve added some links above. 🙂
Where can I buy leather for straps?
Hi Gerrie, I provide direct links in my patterns, but I’ve added some above.
https://blog.noodle-head.com/product/1-wide-leather-handles
I would like to know where to buy leather handles and rivets.
I know you once mentioned an etsy shop for the handles–I couldn’t find it on your blog–but I don’t recall anything about rivets. Thanks for your help.
All of your bags are so beautiful.
Hi Sandra, the links are provided in my patterns as well as a couple I’ve linked above. Thanks!
Hi Anna! Thank you for this great tutorial! I purchased the Gold Star press last year and have been afraid to use it! I think I need a better supply of rivets. I’d also like to use the press for punching the holes. Do you have any recommendation on the size I of hole punch? I get so lost at these shops! Thanks.
Hi Kathi, glad you enjoyed it! Here’s a link to the hole punch dies: https://goldstartool.com/Hole_Punch_Die_for_Grommet_Machine.html If you open one of the product listings for a rivet (for example), there’s a drop down menu that ask about prepunching holes die. I think for the smaller rivets the 2mm punch is the correct size for a 6-9mm rivet (they have the post diameter listed from 2.5-3mm, but I believe you’d want/need the hole a bit smaller). I’d suggest sending their shop a message asking just to be sure. Hope that helps!
Thank you Anna for taking the time to answer my question. Sometimes I get stuck, lol! Can’t wait to start using rivets on my Noodlehead bags! Thanks again. Kathi
I am curious if using rivets to attach straps to the bag is better than just using cross-stitching. Specifically, does it make it more durable and reduce the risk of the strap eventually detaching from the bag. Can it hold more weight with a rivet?
can you reuse the rivets by taking apart if strap breaks on tote bag to replace strap
Hi Debbie, you won’t be able to reuse double cap rivets like these. But you could use Chicago Screws, which look similar to rivets, but just screw in from the back making them easy to reuse or take of a strap. 🙂
Thank you, Anna! I need to decide if the big expense of a rivet press would help me a lot more in producing more bags. Do you have any thoughts to help me in making the decision? Thank you!
Hi Margot, thanks for your comment! I know it can be a difficult decision. Personally, I think that when you have the right tools for the job, it makes things so much easier. Yes, you can set rivets by hand, but a press makes it easier! Hope that helps a bit. If you’d like, our fb group has many helpful bag makers that might be able to give your their insight as well. Here’s the group: https://www.facebook.com/groups/noodlehead
Thank you so much, Anna! I love your designs & patterns!!!
I thought there was a you tube to watch for the rivets? Love your style and patterns !
Thanks Pamela! I show how to use rivets in my Haralson bag and Firefly tote sew-alongs on my youtube channel: https://www.youtube.com/@noodleheadsewingpatterns/playlists