


Read the Blog!
Visit Our Blog
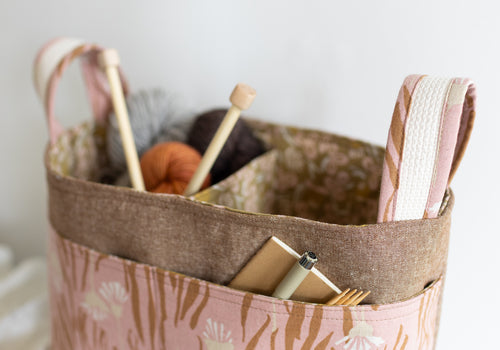
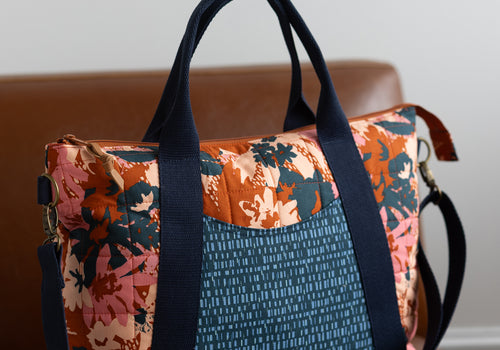
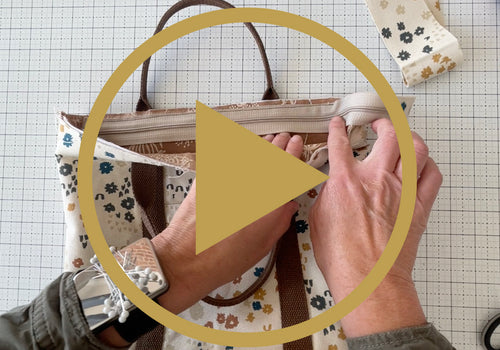
March 30, 2026
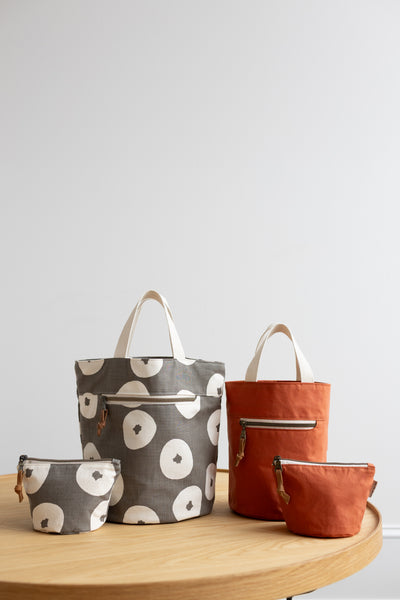
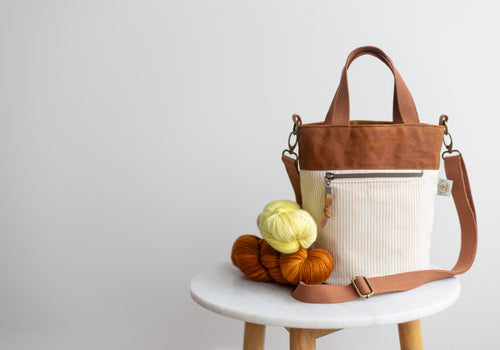
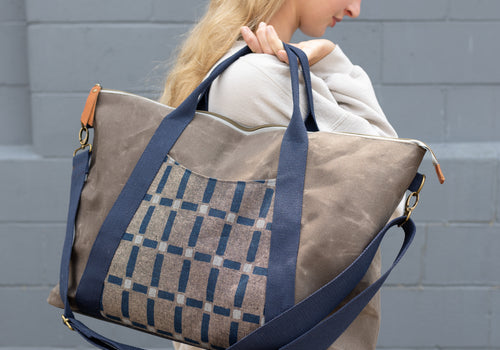
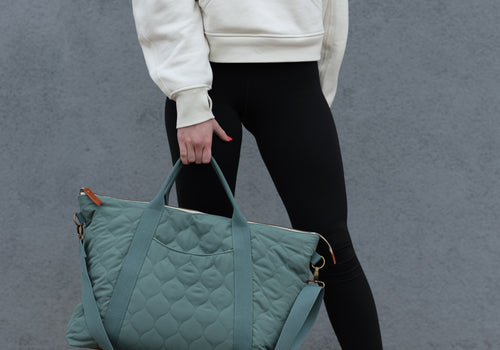
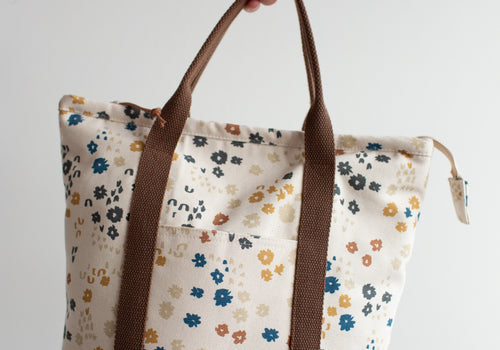
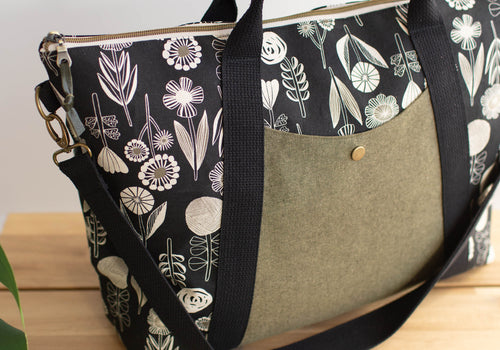
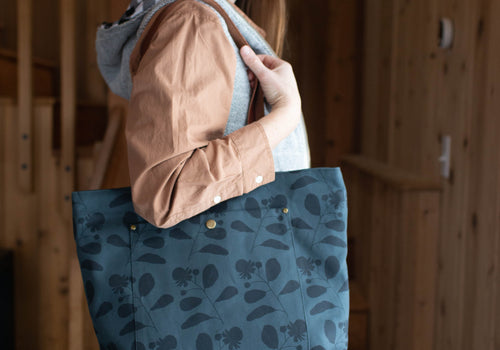
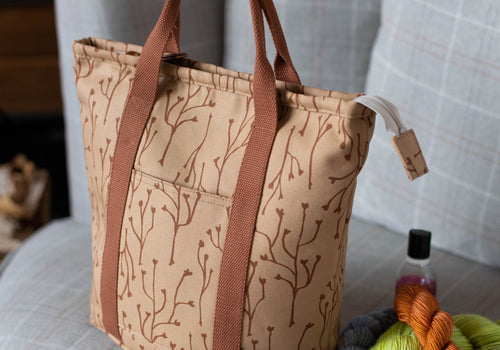
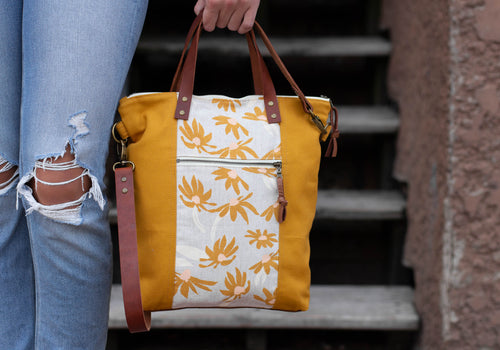
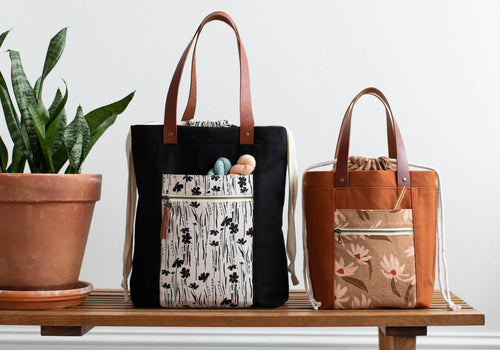
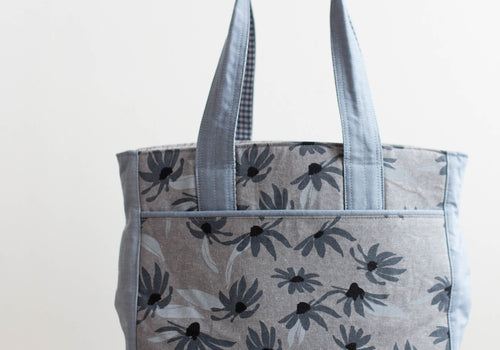
Nuno to Mono Fieldstone Tote
Hands down my favorite. I like simple, I like minimal.

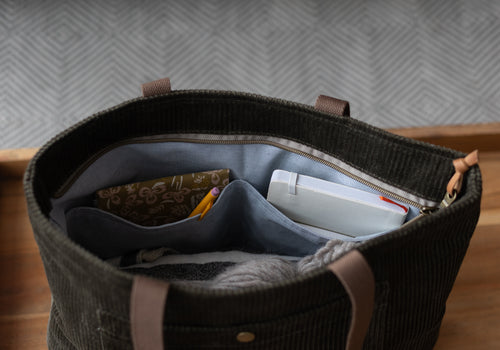
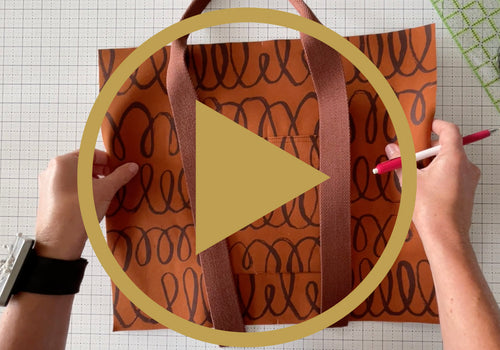
March 23, 2026
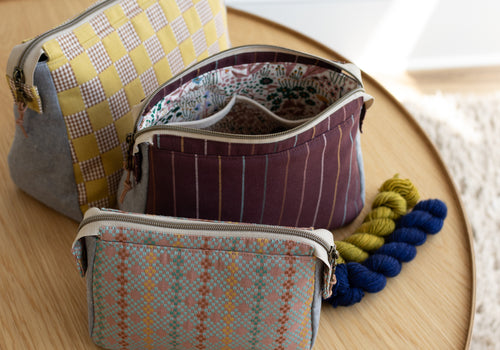
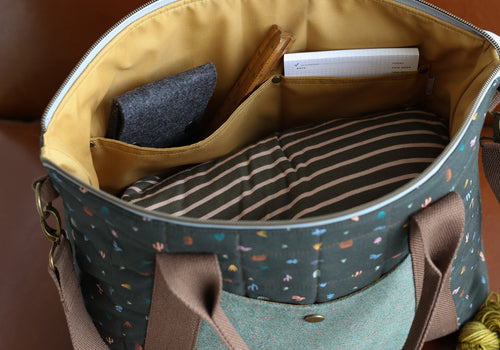
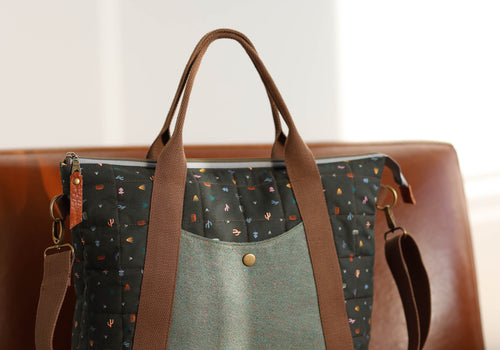
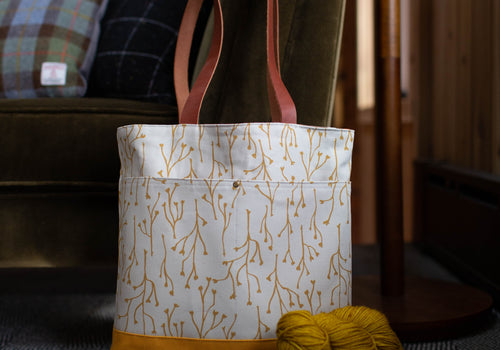
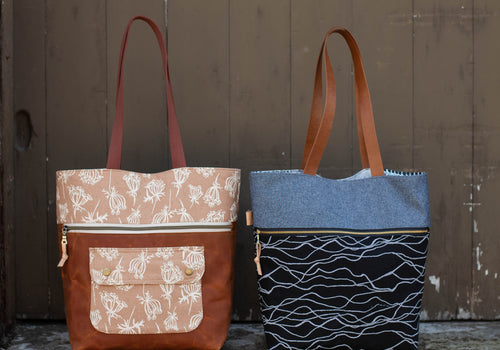
A trio of Fieldstone Totes
I made a lot of Fieldstone Totes in the process of developing the pattern. Mostly because...

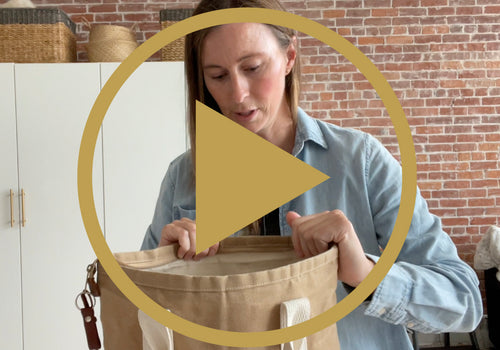
February 26, 2026
New! Fieldstone Tote Pattern
Happy almost Spring! New! Fieldstone Tote Pattern! I’m excited to


November 24, 2025
2025 Thankful Sale
My 2025 Thankful Sale is here! Sewing patterns and leather 20% off!

October 8, 2025
The summer I turned pretty Quarry Tote
Any The Summer I Turned Pretty fans out there? I had to make...

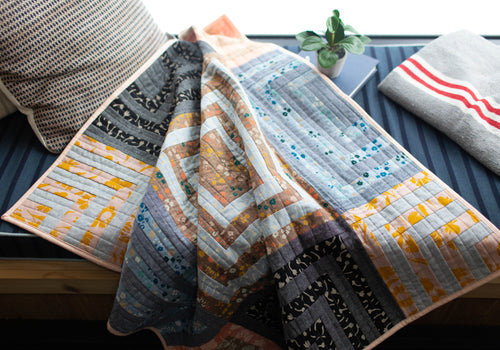
September 4, 2025
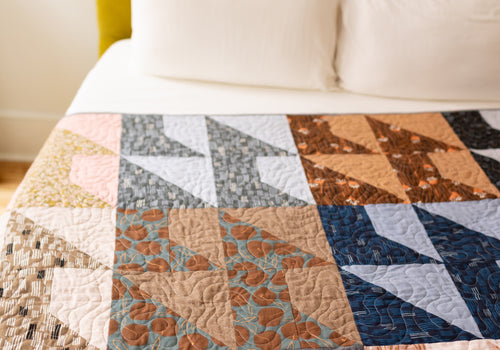
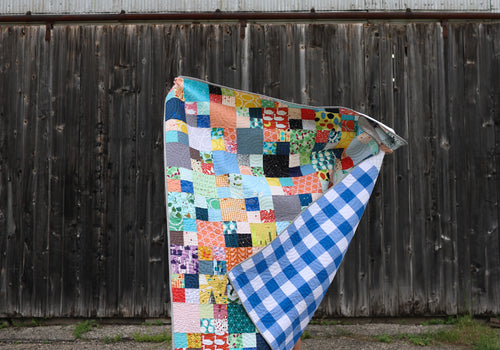
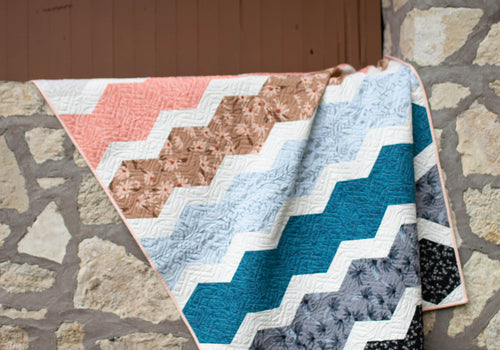
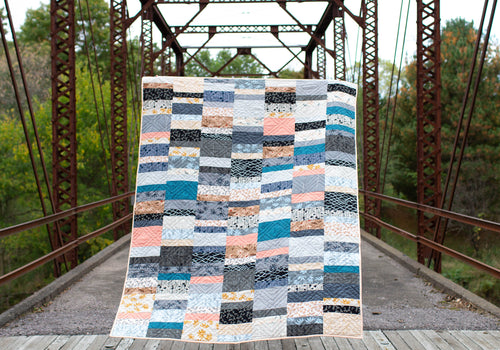
Rockwood Quilt in Orchard Run
I know, I say this for literally every quilt, but this may be...

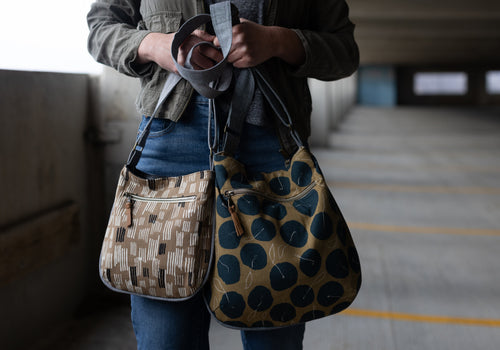
August 4th, 2025
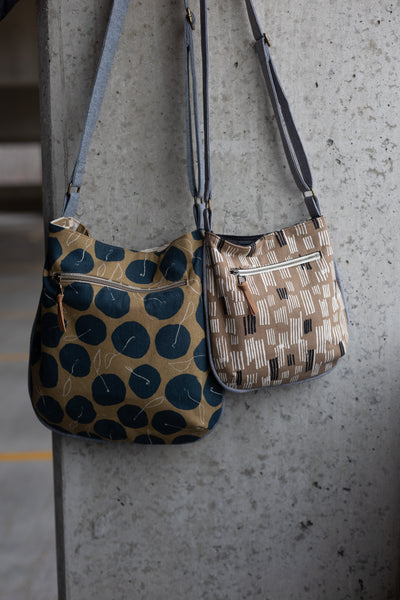
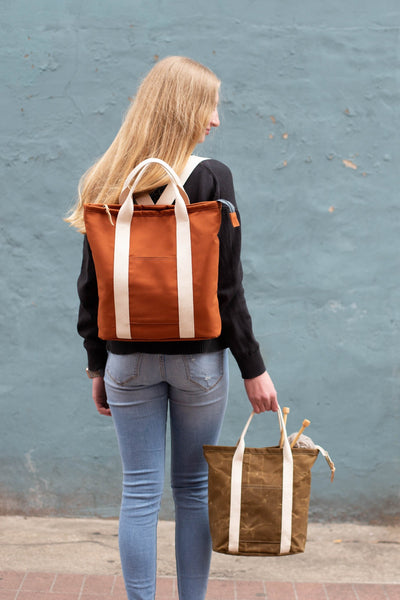
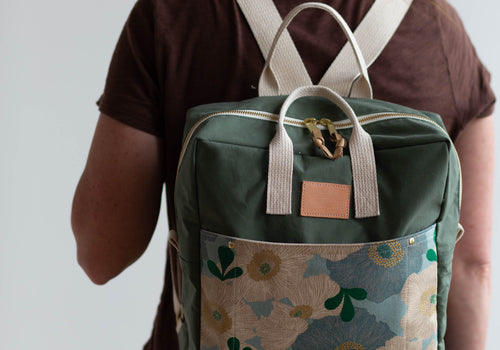
Haralson Bag in Orchard Run
Orchard Run, my newest collection with Robert Kaufman Fabrics, is arriving in...
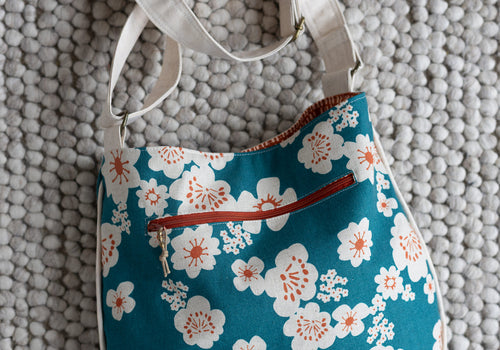
June 27, 2025
New! Quarry Tote Pattern
Happy end of June! New! Quarry Tote Pattern! I’m excited to introduce
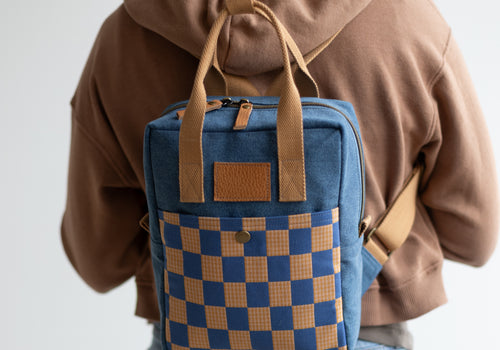
May 29, 2025
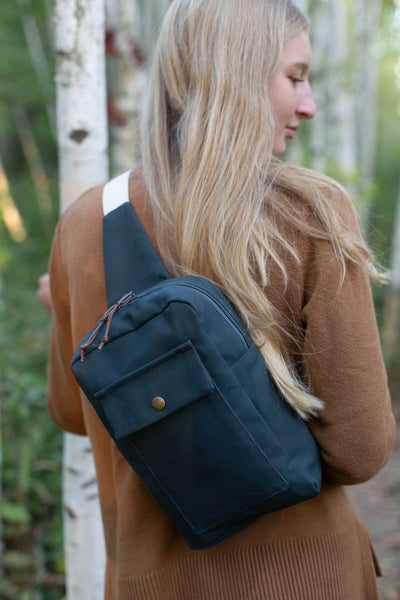
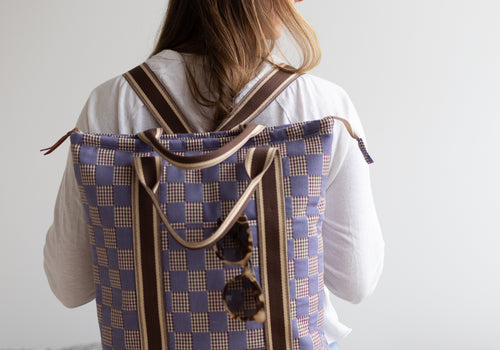
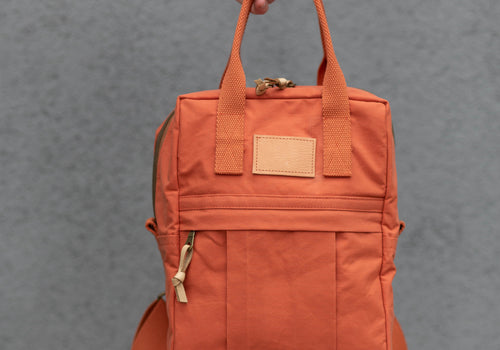
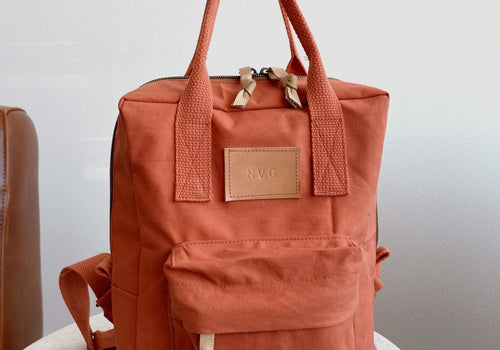
Checkmate Mini Making Backpack
I’m totally feeling the about-to-be-summer....
May 10, 2025
Paper Cuts 2 Trail Tote
This past week was the H+H Americas trade show in Chicago. I wish...

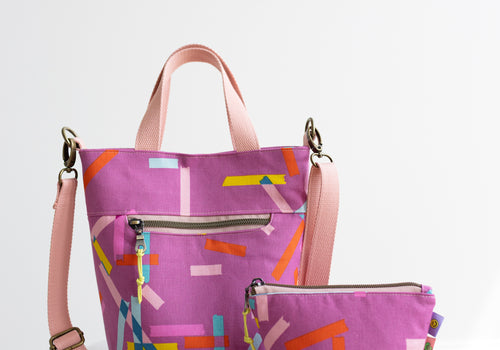
May 2, 2025
Rose Gold Plover
I decided to keep things simple and let the rose gold shine by....

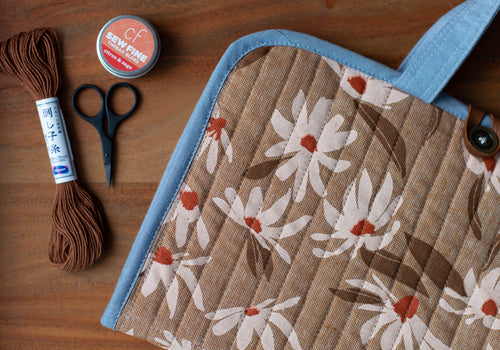
March 10, 2025
Salutations Trail Tote
I love a sunshine yellow fabric. As soon as I saw this....
January 3, 2025
Goodbye 2024
2024 came and went. It’s amazing to me that it’s already time to...

October 28, 2024
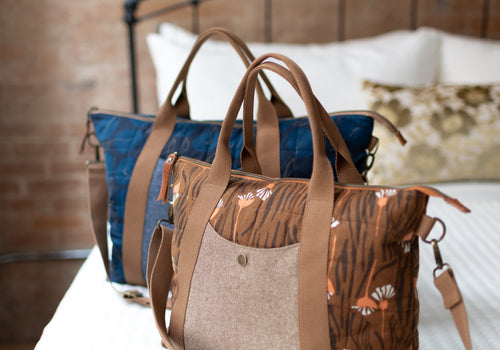
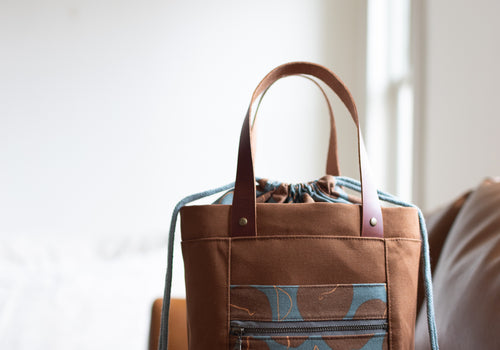
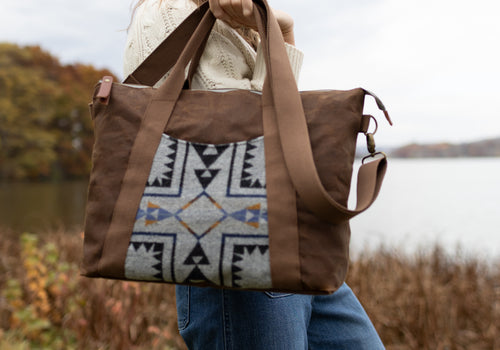
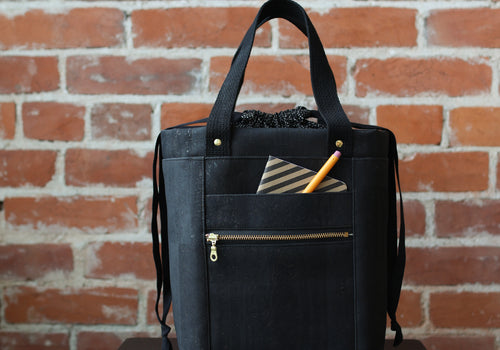
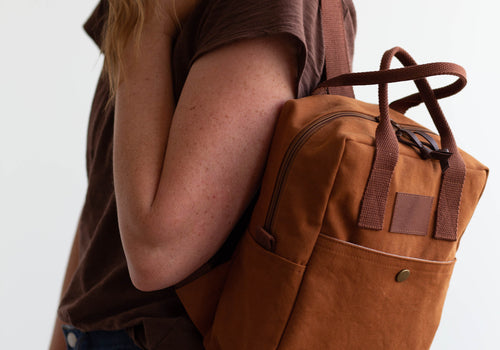
Waxed Canvas and Pendleton Oxbow
I’ve been meaning to show off this waxed canvas and Pendleton Oxbow Tote.....
October 10, 2024
Her College Quilt
Yayyyy! I finished my oldest daughter’s college quilt and....
August 27, 2024
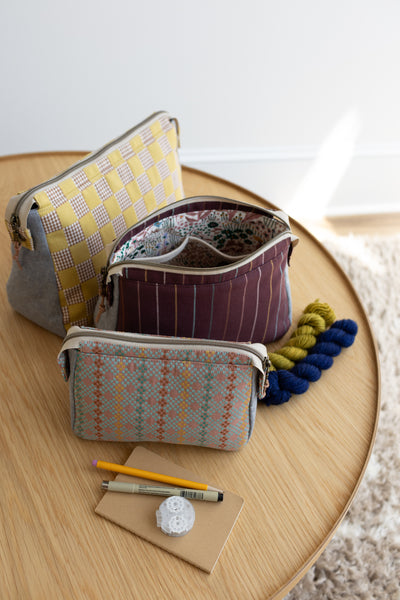
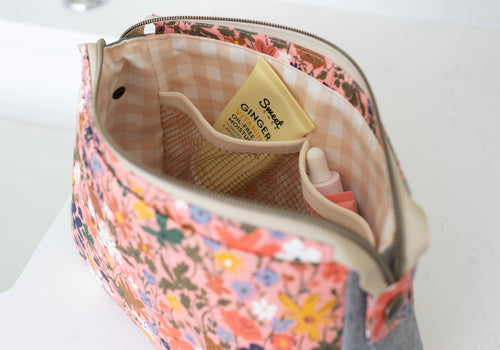
Floral Plover Pouch
What’s not to love about a floral Plover Pouch?! This floral got my attention...
August 15, 2024
New! Plover Pouch Pattern
Happy August! New! Plover Pouch Pattern! I’m excited to introduce you to my newest pattern...
August 6, 2024
Canyon Springs Buckthorn Backpack
This Canyon Springs Buckthorn Backpack just had to be! I recently added some striped webbing...
July 25, 2024
Waxed Canvas Oxbow Tote
What’s not to love about a waxed canvas Oxbow Tote?! Waxed canvas is definitely
May 31, 2024
Ode to Lizzy House Quilt
I couldn’t think of a better time to share this Ode to Lizzy House quilt...
April 18, 2024
Pre-quilted Oxbow Tote
I know, it’s been slow going here on the blog. I’ve been busy not taking pictures of my final projects; even worse....
April 3, 2024
Another Buckthorn Tote in Riverbend
Hope you had a great weekend! I made another Buckthorn Tote....

March 15, 2024
Poolside Tote in Riverbend
When I was envisioning the different Big Sur prints for my collection, I knew this Poolside Tote in...
March 6, 2024
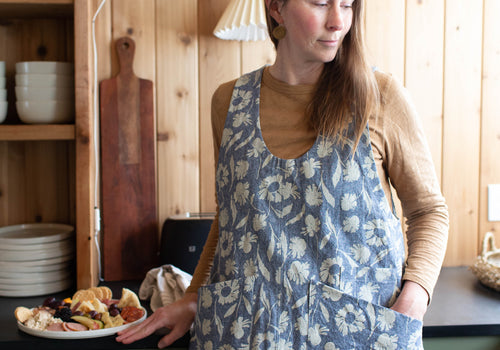
Studio Tunic in Riverbend
Okay, this is the Studio Tunic in Riverbend Essex and it might be one of my favorite makes! I know, I’m sure...
February 16, 2024
Yuma Oxbow Tote
I had the Yuma fabric pulled into a few different piles, so I knew I would end upmaking a Yuma Oxbow Tote!
January 12, 2024
Oxbow Tote Sew-Along
Welcome to the Oxbow Tote Sew-Along Part 1! I’m so excited to have you join along! Here’s the schedule...
January 1, 2024
2023 was a good year
2023 went by in a flash honestly. I’m constantly working...
December 9th, 2023
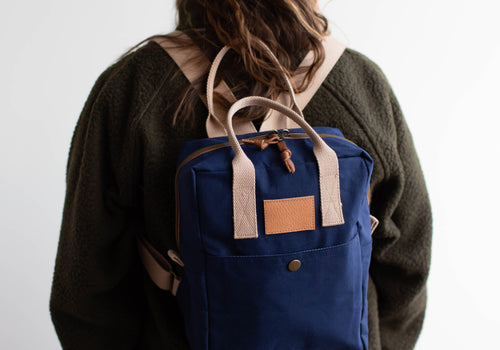
Navy Mini Making Backpack
I can’t believe I let this navy Mini Making Backpack sit in my closet without
November 29, 2023
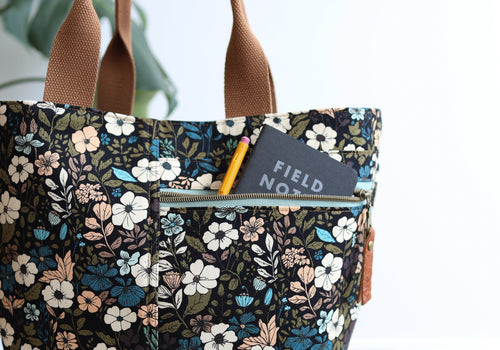
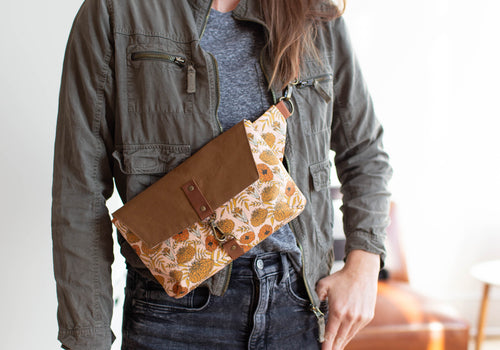
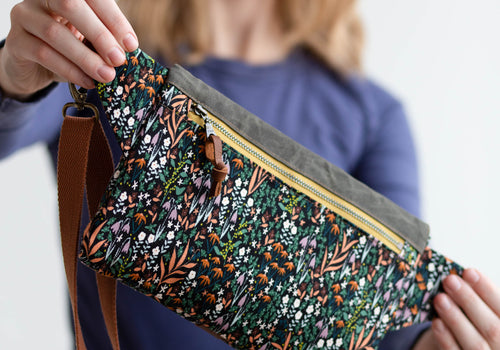
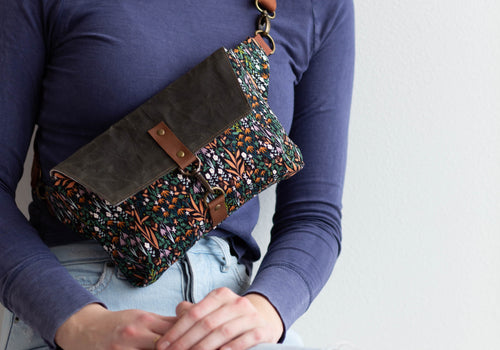
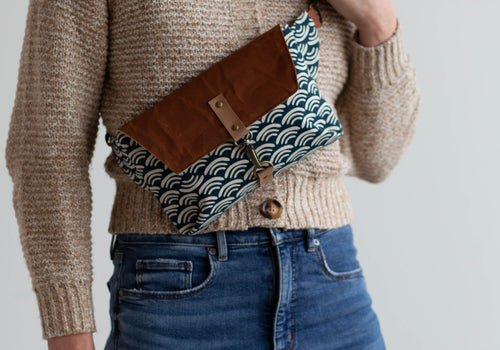
Floral Haralson Bag
I can’t believe I never shared this floral version of my Haralson pattern here on the blog...
November 13, 2023
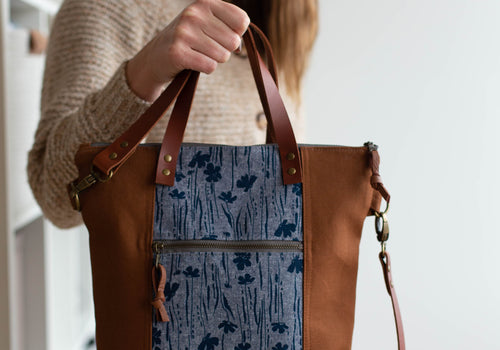
Pepin Tote in Riverbend
You know I’m a big advocate for making usable things! My Pepin Tote in Riverbend is.....
November 2, 2023
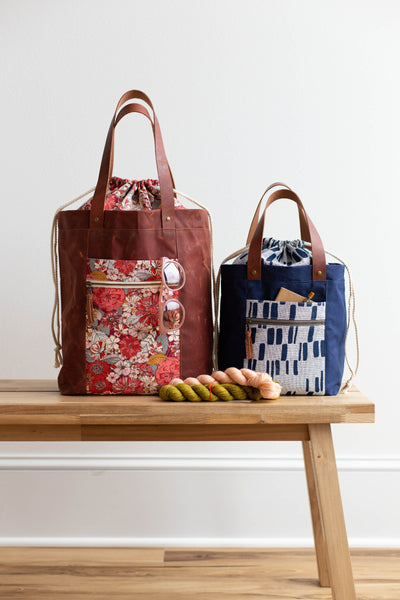
Wool + Wax Totes in Riverbend
These Wool + Wax Totes in Riverbend might just be the gift that keeps on giving this year...
October 24, 2023
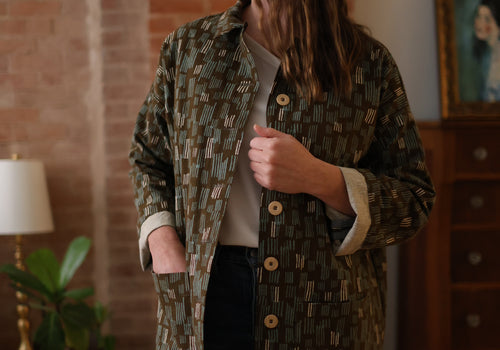
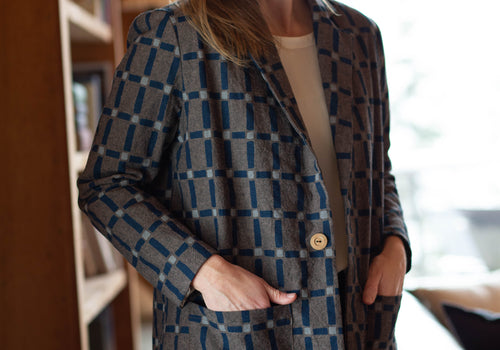
Heather Blazer in Riverbend
You know I love a garment out of Essex, right?! This Heather Blazer in Riverbend feels right at home. When Friday Pattern Co. released...
October 17, 2023
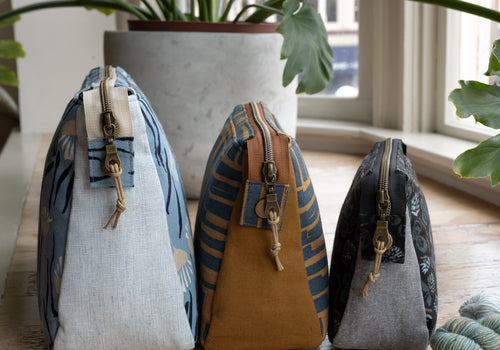
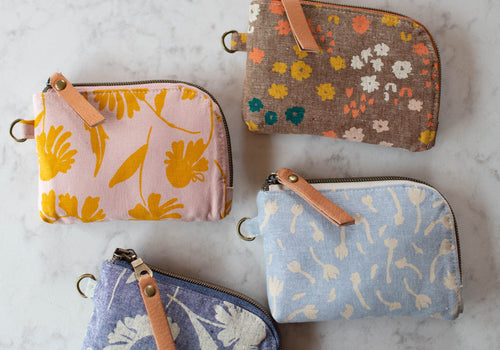
Yarrow Pouches in Riverbend
Cutie cute cute alert! Yep, can’t resist these little nuggets. These are my Yarrow Pouches in Riverbend.....
October 13, 2023
Buckthorn Backpack + Tote Sew-Along Part 3
Welcome to the Buckthorn Backpack + Tote Sew-Along Part 3! We’re on the last few steps, hope you’ve had fun! Can’t wait to finish up today...
October 6, 2023
Buckthorn Backpack + Tote Sew-Along – Part 2
Welcome to the Buckthorn Backpack + Tote Sew-Along Part 2! I’m so excited to have...
September 29, 2023
Buckthorn Backpack + Tote Sew-Along
Welcome to the Buckthorn Backpack + Tote Sew-Along Part 1! I’m so excited to have you join along!
Here’s the schedule I’ll be following for the sew-along...
September 22, 2023
Fireside Quilt – Riverbend
I knew I wanted to make a baby quilt using my new collection. So this Fireside Quilt– Riverbend felt just right!
September 13, 2023
Caravan Tote & Pouch – Riverbend
I really enjoyed making this set! This is the Caravan Tote & Pouch–Riverbend. I started because I wanted to make a new sample using Riverbend. I hadn’t...
August 28, 2023
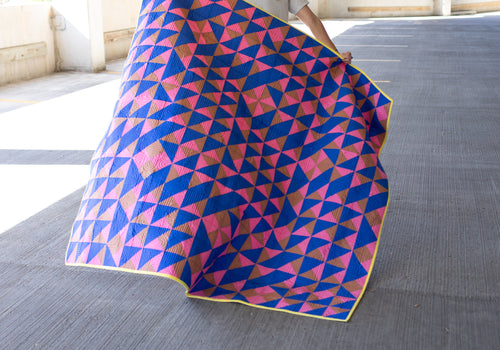
Floored Quilt - Riverbend
Honestly, this might be my most favorite quilt. This is my Floored Quilt – Riverbend!
I keep a little list of quilts I want to make for when I feel like making...
August 16, 2023
Buckthorn Tote – Riverbend
Might as well share the Buckthorn TOTE that I made! This is my Buckthorn Tote – Riverbend style! Hope you spotted the Buckthorn Backpack that I shared earlier. I...
July 31, 2023
Sewing Buckthorn Backpack – Riverbend
Kicking things off for Riverbend with this Buckthorn Backpack! Riverbend is my newest fabric collection for Robert Kaufman Fabrics – this is my 5th fabric collection with...
July 24, 2023
Riverbend Inspiration
Today I’m sharing the backstory and inspiration of my newest fabric collection, Riverbend.
June 13, 2023
Irish Chain Quilt in Linen
Hope you all are having a great summer so far (and winter for those in the Southern Hemisphere!). I finished up a personal project that I’ve been working on for...
April 14, 2023
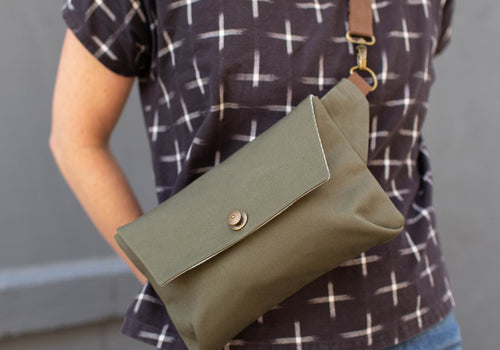
Olive Twill Haralson
Okay! This olive twill Haralson just had to be shared. I drug my feet big time in getting final photos of the last few Haralson bags I’ve made.

March 7, 2023
Black and linen Haralson Bag
Thanks so much to everyone who joined along in our little sew-along! I wanted to show you my black and linen Haralson Bag that I sewed during the filming....
February 27, 2023
Haralson Bag Sew-along Part 2
Welcome to the Haralson Bag Sew-Along Part 2! I’m so excited to have you join along!
February 20, 2023
Haralson Sew-along Part 1
Welcome to the Haralson Bag Sew-Along Part 1! I’m so excited to have you join along!
February 8, 2023
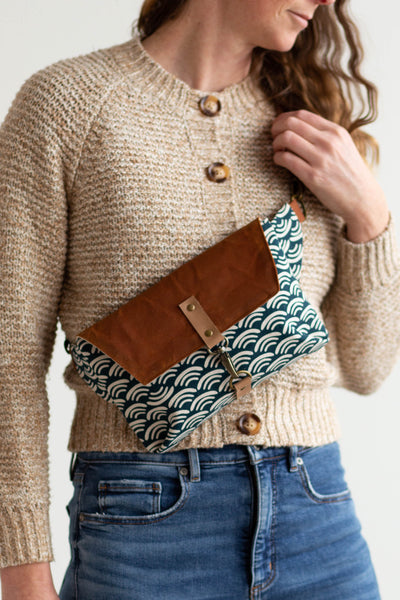
New! Haralson Bag Pattern
Happy February! I’m excited to introduce you to my newest pattern, the Haralson Belt Bag!
January 3, 2023
2022 was a good year
2022 was actually pretty fun! Again this year I had to take a scroll through my pictures to figure out what exactly happened this year.
December 12, 2022
Denim and Walnut Redwood Tote
The pieces to this Denim and Walnut Redwood Tote were cut over a year ago. I was deep into making all the samples for my Around the Bend fabric...
November 22, 2022
2022 Thankful Sale!
2022 Thankful Sale is here! All sewing patterns and leather* 20% off!
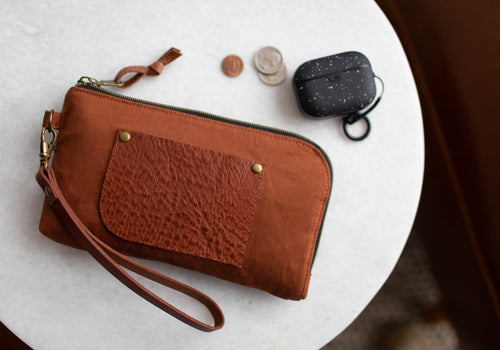
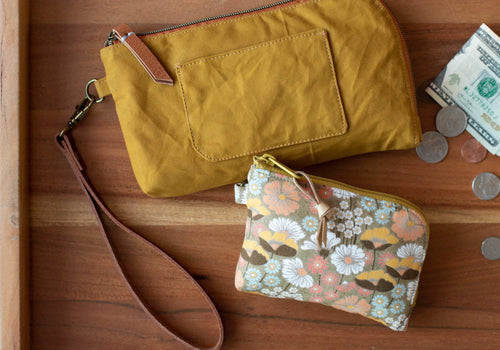
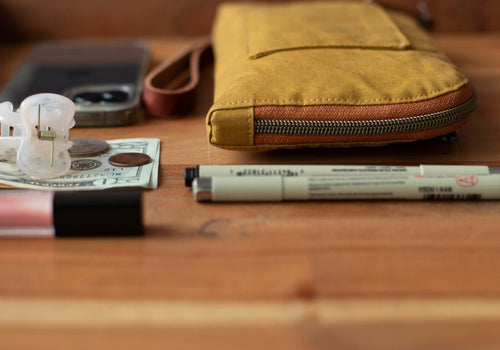
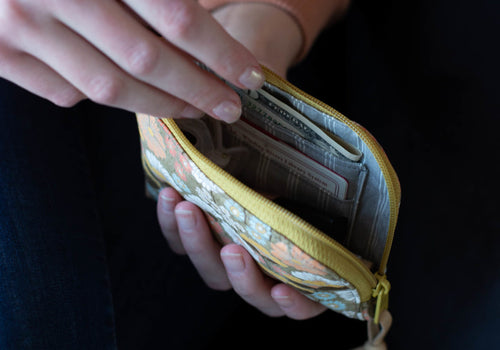
October 23, 2022
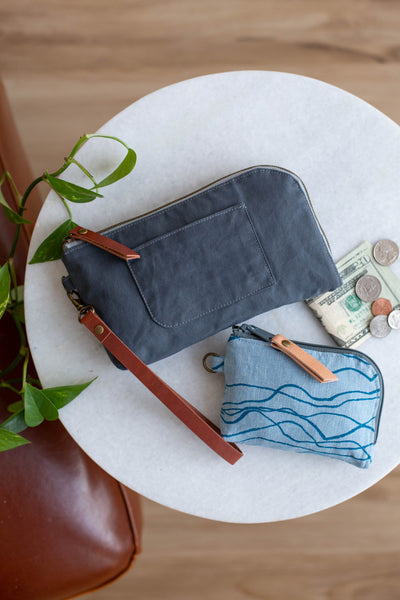
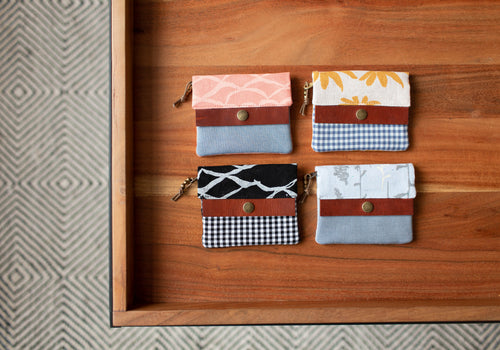
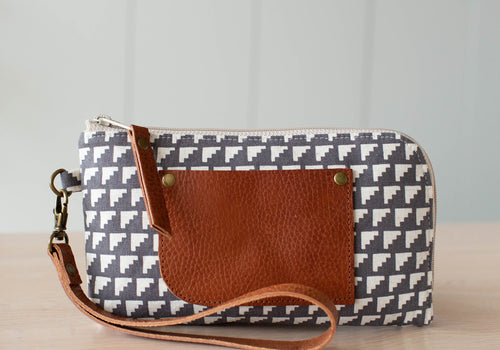
Minimalist Wallets - Around the Bend
Cute little wallet alert! Sorry if this distracts you from your to-do list, but these are too cute not to share. These are mini Minimalist Wallets showcasing Around...
October 11, 2022
Hexie Pop Quilt - Around the Bend
Yayyyy! A quilt!!! I love quilts! I think you probably might, too! This is the only project I didn’t personally make for my new fabric collection. My friend Emily of...
September 30, 2022
Road Trip Case – Around the Bend
This project makes me happy! I hadn’t made a Road Trip case in quite a while, so it was fun to pull some fat quarters to get started on this...

September 19, 2022
Olive Backpack & Dry Oilskin Tips
Here’s my Olive backpack, plus I’m sharing Dry Oilskin tips today! This fabric is one of those colors that shifts depending on the lighting!
September 13, 2022
Firefly Totes – Around the Bend
I think this set of Firefly Totes using Around the Bend might be my favorite non-quilt project of the group! Picking out different canvas and Essex pairings is...
September 8, 2022
Hillside Tote – Around the Bend
I always appreciate a fun and quick project – so in steps the mini Hillside Tote! I love this pattern for its simplicity. It’s the perfect opportunity to showcase...
August 30, 2022
Spotted Yarrow Pouch & Geometric Yarrow Wristlet
Hope the last days of August are treating you well! My kids are back in school already – I have two High Schoolers this year. Wow! Our summer was packed...
August 23, 2022
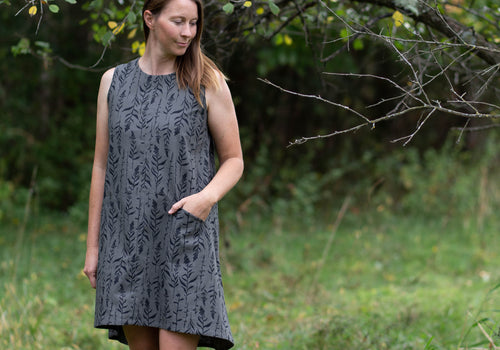
Farrow Dress - Around the Bend
A dress! You know it wouldn’t be complete without showing you what you can make for garments! This is the Farrow Dress featuring Around the Bend! If you’re looking...
August 17, 2022
Super Tote – Around the Bend
Sewing projects that highlight a favorite fabric are always my fave. I like to let large-scale designs take the stage and leave room for a few supporting roles with the...

August 10, 2022
Denim Waxed Twill Making Backpack
Even though the recent addition to the Making Backpack was all about the Mini version, I couldn’t resist having a little fun with the Regular size. A denim...
August 5, 2022
Fat Quarter Shuffle - Around the Bend
Each new fabric collection I design has a favorite sample or two. I think this Fat Quarter Shuffle quilt featuring Around the Bend might be one of them! Quilts...
August 2, 2022
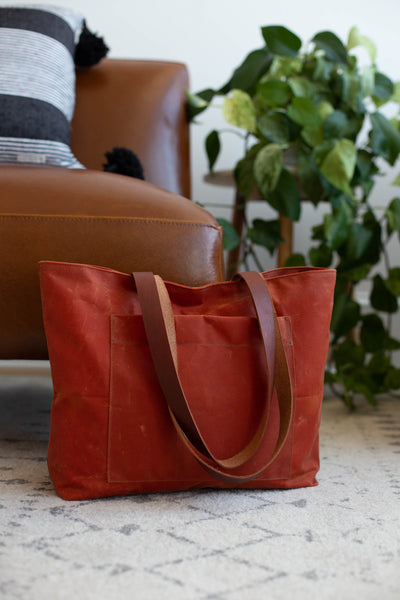
Redwood Tote - Around the Bend
It’s been wayyy too long since I’ve made a Redwood Tote! I have absolutely loved using my own! So I figured that a Redwood Tote using Around the Bend would...
July 12, 2022
Around the Bend Inspiration
July is here! That also means my newest fabric collection, Around the Bend, starts shipping to stores! Be sure to ask your local quilt shop if they’ve ordered it! All of...
June 24, 2022
Camellia Making Backpack
I couldn’t resist this fabric combination when I spotted it on my cutting table! This is the regular sizeMaking Backpackfeaturing Camellia by Melody Miller forRuby Star Society!
June 16, 2022
Bronze Mini Making Backpack
I just love how this one turned out! I had so many piles of different fabric combinations, but this one found its way to the top! This beautiful bronze mini...
June 9, 2022
NEW! Making Backpack with Mini size!
I am so excited to re-introduce you to the Making Backpack pattern! I’ve added a new (mini!) size & added a BONUS alternate zippered front pocket option, too!
May 10, 2022
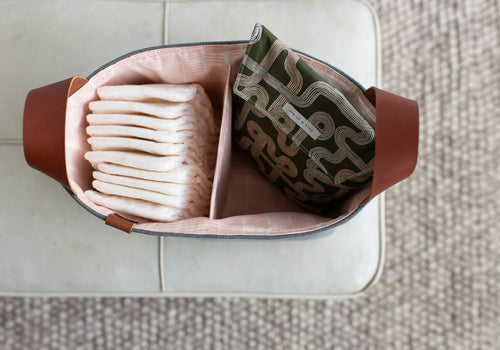
Green Denim Divided Basket & Diaper Pouch
You know I love sewing for babies, right? I know it’s been a bit since I’ve made anything — but there’s a new baby in town! That always spurs me...
March 23, 2022
Mini Franken-Kånken
Oh my gosh you guys!!!! I am so thrilled with this project! My daughter went on her school trip to Disney last week and she requested a mini backpack. You...
March 23, 2022
Twill and Leather Yarrow
I know you may have seen a quick glimpse of this sample in the Yarrow Sew-along video or in the pattern itself, but today I’m showing it off in all...
March 4, 2022
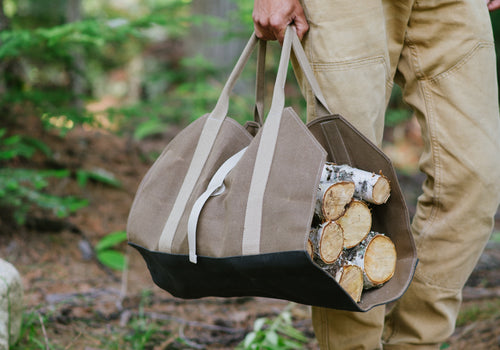
Wood Carrier Pattern now available!
Hope you’re gearing up for a fun weekend! I wanted to share with you that I finally added my Wood Carrier PDF Pattern to my shop! This pattern was part of Making magazine’s...
February 25, 2022
Yellow and Floral Yarrows
I think I was feeling pretty spring-y when I made these two yellow and floral Yarrows! If you’ve been here long enough, you know I’m a fan of yellow and mustard...
February 18, 2022
Yarrow Complete Sew-Along
Welcome to the Yarrow Wristlet & Pouch Complete Sew-along! This post contains the full list of newsletter’s that were sent out for the Yarrow Sew-Along (this sew-along was originally published...
February 9, 2022
More Yarrows and tester finishes
Thank you all so much for your support of my newest pattern, the Yarrow Wristlet & Pouch. I don’t know what I was expecting, but I’m so glad that so...
January 2, 2022
2021 was an interesting year
Whew! 2021 was a year that seemed to fly by, but we made it! A look back through my camera roll and pictures always helps me to see what exactly...
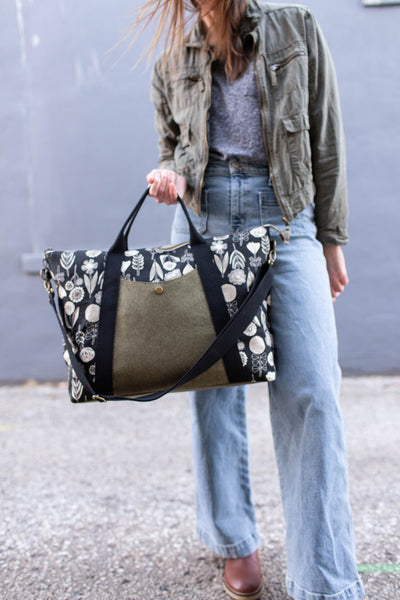
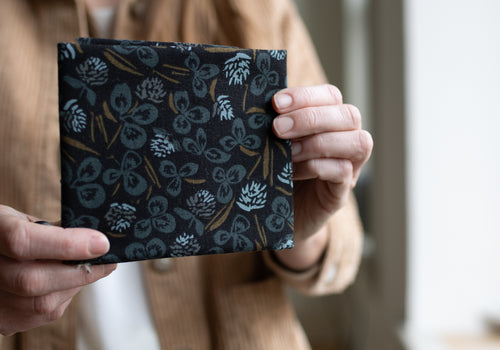
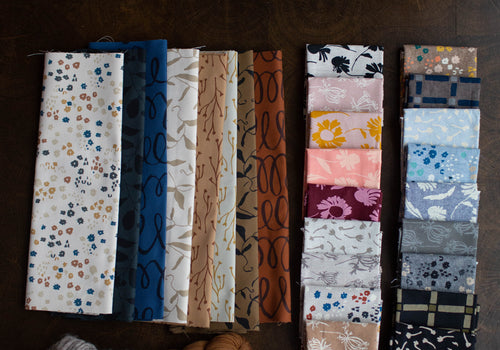
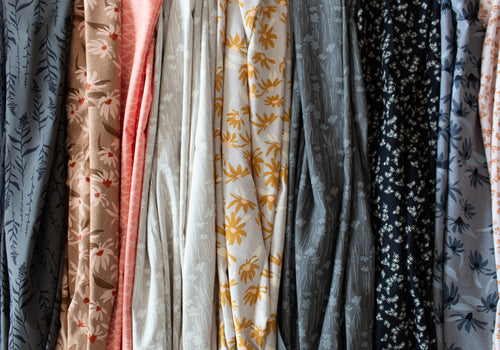
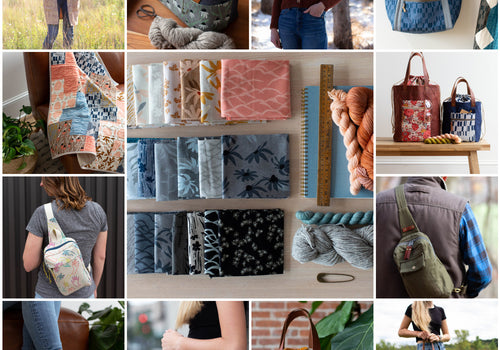
NEW! Orchard Run Fabric Collection
A collection of hand drawn prints for Robert Kaufman. Printed on a cotton/linen blend - perfect for bag making and more! Now available at your local quilt shop!